Clarke ZX-R Pro Series Manuale di istruzioni per il funzionamento e la manutenzione - Pagina 9

Sfoglia online o scarica il pdf Manuale di istruzioni per il funzionamento e la manutenzione per Sega Clarke ZX-R Pro Series. Clarke ZX-R Pro Series 13. 20v cordless multi function tool
Anche per Clarke ZX-R Pro Series: Manuale di funzionamento, manutenzione e istruzioni (8 pagine), Manuale di istruzioni per il funzionamento e la manutenzione (9 pagine), Manuale di istruzioni per il funzionamento e la manutenzione (17 pagine), Manuale di istruzioni per il funzionamento e la manutenzione (17 pagine), Manuale di istruzioni per il funzionamento e la manutenzione (17 pagine)
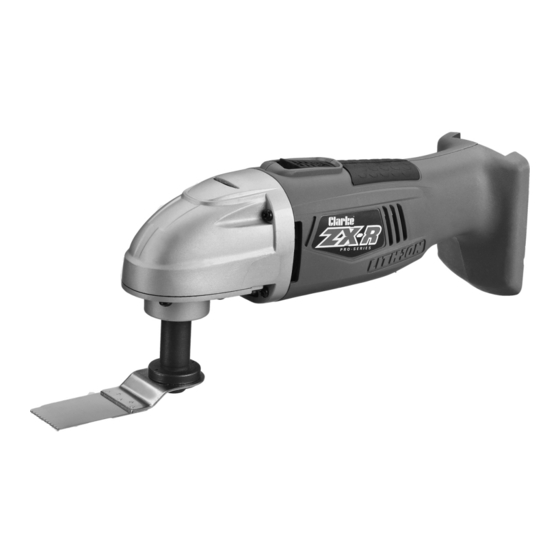
Clarke ZX-R Pro Series Manuale di istruzioni per il funzionamento e la manutenzione
9. To prevent accidents, turn off the tool and remove the battery after use.
Clean, then store the tool indoors out of children's reach.

PLUNGE CUTTING

Plunge cut into plywood and thin boards. Do not attempt to plunge cut into
thick, hardwood or metal panels.
1. Clearly mark the line of cut.
2. From a convenient starting point within the cutting area, place the tip of
the blade over that point with the saw parallel to the line of cut.
3. Place the edge of the pivot shoe
on the work piece with the blade
NOT touching the work material.
Squeeze the trigger to start the
tool operating. never start a
plunge cut with the blade tip
touching the work piece. this will
cause an immediate kick back,
that can damage the work piece,
and blade or cause injury.
4. Wait for the saw to reach full
speed, then slowly rotate the tool on the pivot shoe as the blade contacts
the work piece. Hold the tool firmly.
5. Continue to slowly rotate the tool until the blade has penetrated through
the work material. Press the Pivot Shoe firmly against the work material and
continue to make the cut.

CUTTING METAL

1. Install a metal cutting blade.
2. Coat the cutting surface with cutting oil to prevent the blade from
overheating.
3. Follow general cutting procedure above.
Parts & Service: 020 8988 7400 / E-mail: [email protected] or [email protected]
9