3Doodler PRO+ Manuale d'uso - Pagina 3
Sfoglia online o scarica il pdf Manuale d'uso per Accessories 3Doodler PRO+. 3Doodler PRO+ 16.
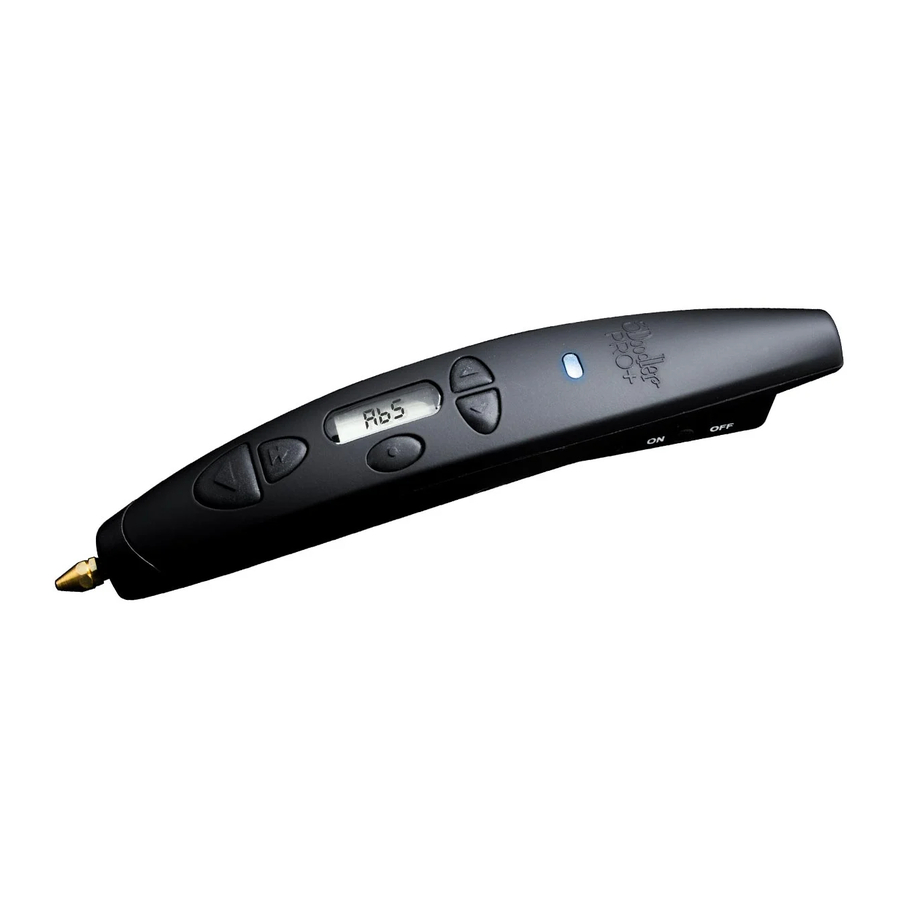
How it Works:
The 3Doodler PRO+ melts filament and uses a motor
and gears (Drive Gear) to push the filament through the
pen's hot end (Nozzle) in a thin line. This process is called
extruding or extrusion, and we will refer to it throughout
this User Manual. Once extruded, the filament hardens
nearly instantly, allowing you to draw on surfaces and in
the air. This User Manual will show you how.
How do I switch the display from Celsius to Fahrenheit?
Through the main menu, you can select SEL in order to
choose whether C or F displays on the LCD screen. Simply
use the Navigation Buttons to choose between C and F on
the screen, then hit the enter. Once selected, you will be
redirected to the main menu. The temperature display will
be saved for future use.
3Doodler PRO+ Filament Details
The 3Doodler PRO+ is only compatible with
the 3Doodler-branded filaments below. Do not
attempt to use your 3Doodler PRO+ with any
third party filaments.
MATERIAL USE GUIDELINES
PLA
• Sticks to a variety of surfaces
• Glossy finish
METAL
• Sand and polish for shine
• Uses real metal
WOOD
• Uses real wood fiber
• Sand it, stain it, and fill in
wooden cracks
ABS
• Hardens quickly
• Perfect for drawing in the air
FLEXY
• Best for Doodles that need
to bend
• Flexible and stretchy
NYLON
• Strong, flexible, and durable
• Make functional parts
• Use clothing dyes to color
Step 1: Turn on your 3Doodler PRO+ and
Doodle with ABS
1
Plug in your 3Doodler PRO+ pen.
3
Using the navigation buttons, scroll
through the pre-set temperature
modes until ABS displays on the LCD
screen, then click the Enter Button.
o C ( o F) *
195-220 (383-428)
180-200 (356-392)
150-180 (338-392)
200-240 (392-464)
210-230 (392-446)
220-240 (428-464)
2
Turn it on.
4
Next, select the speed you want
on the pen using the Navigation
Buttons, then click the Enter Button.
4
5
BLUE Light
Once the Temperature and Speed are selected, the current temperature
will display on the LCD screen, and the target temperature will flash.
When the pen reaches the target temperature, the Indicator Light will
turn Blue (for pre-set temperature modes) or Green (for custom mode).
Once the Indicator Light changes, you are ready to Doodle.
Step 2: Load and Extrude Filament
1
Select one strand of ABS (MATTE)
Filament (provided in your
3Doodler PRO+ box).
3
Click the Feed Button once and
release. You will hear the Drive
Gear start.
5
After 10-15 seconds, Filament will
begin extruding from the Nozzle.
Extruded Filament will harden
after a few seconds.
Step 3: Learn How to Doodle in 2D
Use the box on the next page to create your first Doodle!
1
Draw a triangle in the box
provided using a marker, pen,
or pencil.
3
Doodle in a continuous unbroken
line by dragging the Filament
along the paper as if you were
writing with a pencil, with all
sides connected. Keep your
movements slow and steady.
5
2
Once the Indicator Light is
Blue, insert the Filament Strand
through the Feed Port .
4
Gently push the Filament into
the Feed Port until you feel the
strand being pulled through the
Drive Gear on its own.
6
Press the Feed Button once to
stop extrusion.
2
Click the Feed Button once. When
Filament starts extruding, push the
Nozzle down onto the paper to get
the Filament to stick to the surface.
4
When you reach the end of the
triangle, be sure to connect the two
ends. Stop extruding by clicking the
Feed Button once again.
Bend the paper outwards to pop
your triangle off.
5