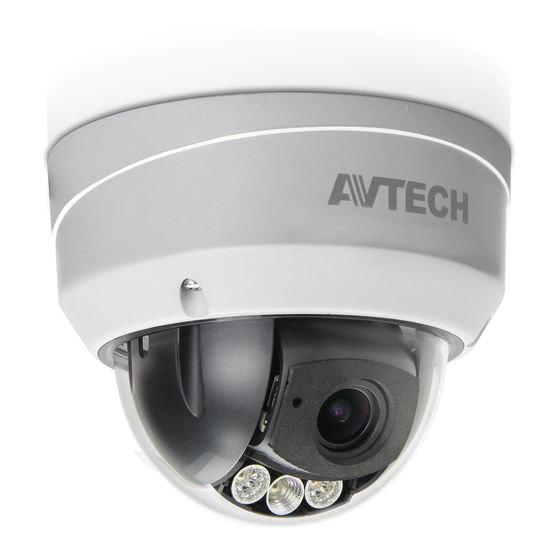
INSTALLATION
Step 1: Find the installation sticker on the sales package, and paste it to where you want to install this camera.
Then, drill screw holes as indicated on the sticker.
Step 2: Arrange the cables to be connected as shown in
installation later.
NOTE: A waterproof kit for a coaxial cable could be used to protect the connectors from moisture /
water. Please check "WATERPROOF KIT FOR COAXIAL CABLE" to know how to use it.
Figure 1
Step 3: Remove the camera cover by using the wretch supplied within the sales package, and find the three
screw holes on the camera base.
Step 4: Connect the cables. Then, align the screw holes on the camera base with the holes drilled in Step1,
and install the camera.
NOTE: Three rubber rings are provided within the sales package. They should be used with the
screws during installation for waterproof purposes.
Figure 3
Figure 4
depending on the installation location for
Figure 2
Figure 2
