astra telematics AT210 빠른 시작 매뉴얼 - 페이지 3
{카테고리_이름} astra telematics AT210에 대한 빠른 시작 매뉴얼을 온라인으로 검색하거나 PDF를 다운로드하세요. astra telematics AT210 4 페이지. Vehicle tracking device
astra telematics AT210에 대해서도 마찬가지입니다: 사용자 설명서 (9 페이지), 설치 매뉴얼 (5 페이지)

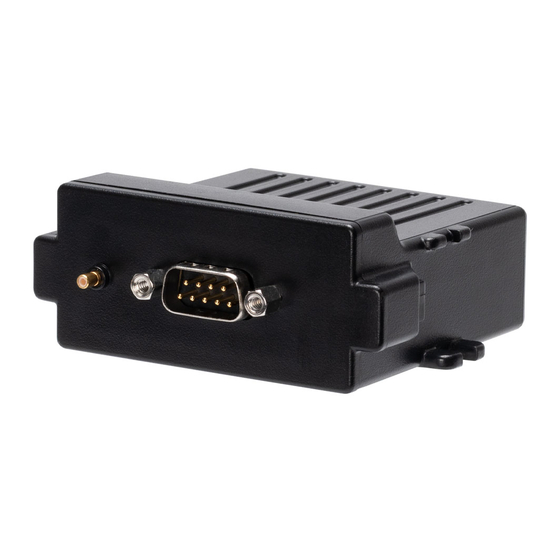
5. Slide the AT210 assembly into the enclosure
a. Note that the GNSS antenna faces the top of the enclosure (with the slots)
b. Ensure that the PCB is aligned with the guide slots inside the enclosure and carefully
push in until the clips snap together
Fit the CB211 cable to the AT210 system connector
6.
a. The CB211 cable has a DB9 female RS232 connector and 4 way Molex Microfit
connector for power and ignition.
b. Connect the DB9 serial connector to your PC COM port or USB-RS232 adapter
c. If you have fitted a battery you should now see text scrolling continuously from the
AT210 to TeraTerm
d. Connect the power as outlined below
CB211 cable
CB001 cable (3 way power & ign)
e. Connect the IGNITION wire to an ignition switched 12/24V signal (i.e. something that
only goes live when the vehicle ignition is ON
+VE Power
-VE Power
red
black
red
black
IGNITION
white
white
