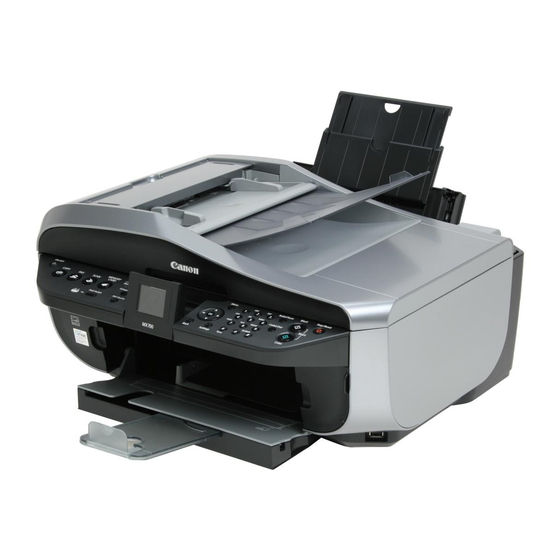
Canon PIXMA MX700 Series 서비스 매뉴얼 - 페이지 14
{카테고리_이름} Canon PIXMA MX700 Series에 대한 서비스 매뉴얼을 온라인으로 검색하거나 PDF를 다운로드하세요. Canon PIXMA MX700 Series 44 페이지. Office all-in-one printer
Canon PIXMA MX700 Series에 대해서도 마찬가지입니다: 청소 매뉴얼 (7 페이지), 네트워크 설정 매뉴얼 (32 페이지), 보충 설명서 (6 페이지), 설정 지침 (2 페이지), 브로셔 및 사양 (2 페이지), 기술 정보 (2 페이지)

2-6. Troubleshooting by Symptom
Faulty operation
Symptom
The power does not turn on.
The power turns off immediately after
power-on.
A strange noise occurs.
Nothing is displayed on the LCD.
A portion of the LCD is not displayed.
Paper feed problems (multi-feeding,
skewed feeding, no feeding).
Carriage movement problems (contact
to other parts, strange noise).
Faulty scanning (no scanning, strange
noise).
No paper feeding from the ADF (no
- Confirm the connection of
- the power cord, and
- between the logic board and the power supply unit.
- Replace the
- power supply unit, or
- logic board.
- Remove foreign material.
- Attach a removed part if any.
- Check the operation of the moving parts (such as purge
unit, carriage unit, and paper feeding mechanism)
- Replace a faulty part, if any.
- Confirm the connection between the operation panel, the
LCD unit, and the logic board.
- Replace the
- LCD unit, or
- logic board.
- Perform the button and LCD test in the service mode, and
confirm that the LCD is displayed without any segments
missing or flickering.
- Confirm the connection between the operation panel, the
LCD unit, and the logic board.
- Replace the
- LCD unit, or
- logic board.
- Examine the inside to confirm that no parts are damaged,
and the rollers are clean.
- Remove foreign material.
- Adjust the paper guide properly.
- Set the paper properly.
- Confirm the following:
- selected paper source
- attachment of the rear cover (for feeding from the front
tray)
- connection of each harness and the logic board
- Replace the
- sheet feeder unit,
- ASF cover unit,
- bottom case unit (for paper feeding from the front
tray), or
- logic board.
- Confirm that the carriage timing slit strip film is free from
damage or grease.
- Clean the carriage timing slit strip film (with ethanol and
lint-free paper).
- Remove foreign material.
- Replace the
- carriage timing slit strip film, or
- carriage unit.
- Confirm the connection between the scanning unit and
the logic board.
- Replace the
- scanning unit, or
- logic board.
- Confirm the connection
12 / 41
Solution
