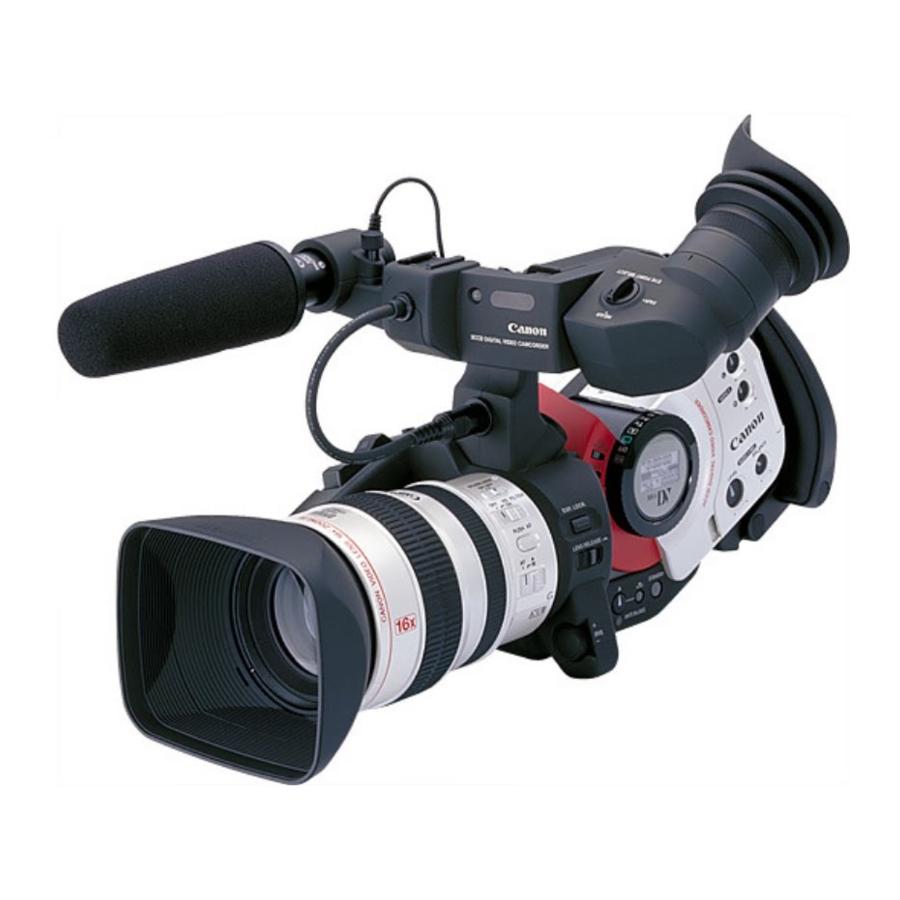
Canon XL 1 사용자 설명서 - 페이지 16
{카테고리_이름} Canon XL 1에 대한 사용자 설명서을 온라인으로 검색하거나 PDF를 다운로드하세요. Canon XL 1 26 페이지. Camcorder
Canon XL 1에 대해서도 마찬가지입니다: 브로셔 (8 페이지), 사양 (1 페이지), 지침 (2 페이지), 브로셔 및 사양 (8 페이지), 사용자 설명서 (9 페이지), 매뉴얼 (9 페이지)

3. To set the input for Stereo 2:
Connect a device to the AUDIO 2 RCA jacks on the handle.
Camera Menu, select Audio 2 INPUT, then select the appropriate option for
AUDIO 2 IN:
a. LINE: To record sound from a VCR, CD or other line-in devices
b. MIC ATT20: To record high-level sound using a microphone
c. MIC: To record sound using a XLR microphone attached to the MA-
100 Microphone Adapter/Shoulder Pad.
4. Select the recording level for 4 channel recording.
Normally, the camera sets the audio recording level automatically, as long as
the REC LEVEL switch is set to A (automatic). You can set the recording
level manually:
a. Set the recording level for Stereo 1:
Slide the REC LEVEL switch of the AUDIO 1/MIC controls to M.
Turn the LEVEL dial to adjust the recording level and BALANCE dial
to adjust the balance between the two inputs. Check the levels in the
audio LCD panel.
b. Set the recording level for Stereo 2:
Slide the REC LEVEL switch of the AUDIO 2 controls to M (manual).
c. Turn the L and R dials to independently adjust the recording levels of
the two inputs (corresponding to the L and R channels of the Audio 2
RCA jacks).
Check the levels for each channel in the audio LCD panel. It is
essential for you to monitor the sound using headphones. Adjust the
headphone volume by rotating the PHONES LEVEL dial.
Making a Sound Check while recording 4 channel audio:
Press the AUDIO MONITOR button to make a sound check — Stereo 1 only (ST1),
Stereo 2 only (ST2) or both (MIX), each in turn.
•
Your choice is selected a few seconds after you last pressed the button, and
shown in the viewfinder and audio LCD panel.
3
From the
16
