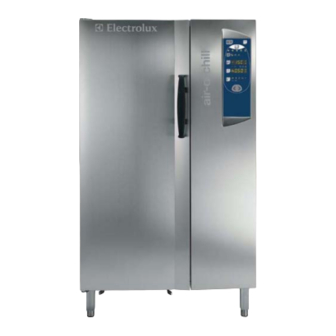
Electrolux AOFP101U 매뉴얼 - 페이지 7
{카테고리_이름} Electrolux AOFP101U에 대한 매뉴얼을 온라인으로 검색하거나 PDF를 다운로드하세요. Electrolux AOFP101U 11 페이지. Bcf 30kg 6 gn1/1 lw (240/3/60hz), bcf 50kg 10 gn1/1 lw (240/3/60hz) / bcf 100kg 20 gn1/1 lw (240/3/60hz) / bcf 70kg 10 gn2/1 lw (240/3/60hz) / bcf 180kg 20 gn2/1 lw (240/3/60hz) / bcf 30kg 6 gn1/1 lw (208/3/60hz) / bcf 50kg 10 gn1/1 lw (208/3/60hz) / bcf
Electrolux AOFP101U에 대해서도 마찬가지입니다: 운영 및 유지보수 지침 매뉴얼 (27 페이지)

AOFP061U, AOFP101U and AOFP102U models: the
condensation drain tray holder guides are fitted externally on the
bottom of the appliance. Take the bowl from inside the chamber
and slide it on to the holder guides.
AOFP201RU model does not have condensation drain tray.
B.1.3.2 Positioning the spacers
AOFP061U, AOFP101U and AOFP102U models: fitting the
spacers. The spacers must be positioned on the back of the
cabinet (see figures here below):
A
and screwed on with eight M5 x 12 screws, screwing them into
the mounting holes. The spacers have the function of keeping
A
A = spacers
the appliance a certain distance from the wall to allow the
refrigerating unit elements to cool properly. Failure to install the
spaces will void warranty and any responsibility of the
manufacturer.
B.1.3.3 Positioning of the "Cook&Chill" stacked units
If the AOFP061U blast freezer will be used to make a new a
"Cook&Chill" unit, please follow the instructions below, making
reference to the steps illustrated:
- take the 6 GN 1/1 oven and remove its leveling feet (see picture
3
"A")
A
4
5
- take the 4 spacer panels and fit them to the mounting holes on
the bottom of the oven (see picture "B")
B
15
