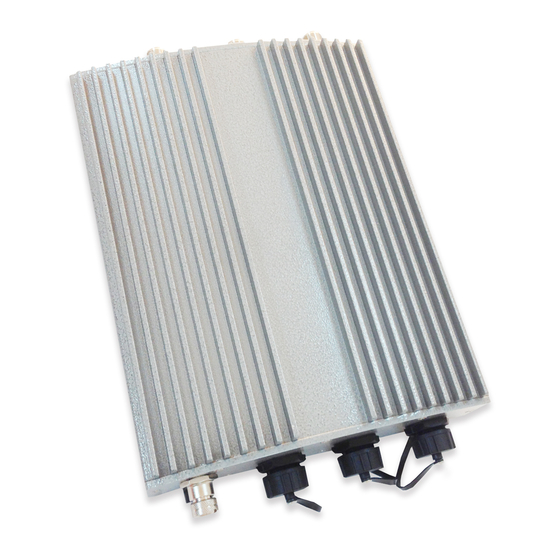
4IPNET EAP210 빠른 설치 매뉴얼 - 페이지 8
{카테고리_이름} 4IPNET EAP210에 대한 빠른 설치 매뉴얼을 온라인으로 검색하거나 PDF를 다운로드하세요. 4IPNET EAP210 15 페이지. Enterprise access point
4IPNET EAP210에 대해서도 마찬가지입니다: 사용자 설명서 (20 페이지)

Hardware Installation
Please follow the steps mentioned below to install the hardware of EAP210:
1. Place the EAP210 at the best location.
The best location for EAP210 is usually at the center of your intended wireless network.
2. Connect EAP210 to your network device.
Connect one end of the Ethernet cable to the Uplink port of EAP210 and the other end of the cable to a
switch, a router or a hub. EAP210 is then connected to your existing wired LAN network.
3. There are two ways to supply power over to EAP210.
(a) Connect the DC power adapter to the EAP210 power socket.
Please use only the power adapter supplied with the EAP210 package. Using a different power
adapter may damage this system.
(b) EAP210 Uplink port is capable of receiving DC currents. Connect an IEEE 802.3af-compliant PSE
device, e.g. a PoE-switch, to the Uplink port of EAP210 with the Ethernet cable.
Now, the Hardware Installation is completed.
To verify the wired connection between EAP210 and your switch/router/hub, please check the
LED status indication of these network devices.
Copyright © 4IPNET, INC. All rights reserved.
EAP210 Enterprise Access Point
4
Quick Installation Guide
ENGLISH
