GAI-Tronics 1090 설치 및 사용자 설명서 - 페이지 7
{카테고리_이름} GAI-Tronics 1090에 대한 설치 및 사용자 설명서을 온라인으로 검색하거나 PDF를 다운로드하세요. GAI-Tronics 1090 20 페이지. Hands-free telephones vandal resistant (vr) and help point
cable entry hole and tighten, so that its sealing washer is compressed
against the enclosure surface.
4. Proceed with chosen mounting method below
5.2.1
1. Using a suitable tool, punch out the 4 holes in the rear enclosure,
taking care not to damage or dislodge the plastic bushes. Only four
of the eight holes are required - the outer ones are recommended.
The inner holes are provided to be compatible with older-style
mounting posts, and should be left intact if not used. If the inner
holes are used they must be fitted with the supplied plastic bushes.
WARNING:.An unsafe condition could occur (and your warranty will be
invalidated) if :-
1. Any fixing hole made in the rear enclosure is left unused.
2. Any additional holes are drilled into the telephone enclosure.
3. Plastic bushes are not used on all fixing holes.
2. Mark the wall with hole centres based on the dimensions shown
(145 x 270mm). If necessary offer the rear enclosure up to the wall
to check alignment. Do not use the enclosure as a template for
drilling.
3. Drill holes in the wall on the marked positions. Select appropriate
screws, wall plugs etc., for the type of wall, bearing in mind that the
weight of the complete phone is around 5kg.
IMPORTANT: USE ONLY countersunk-headed fixing screws. Check
that screws seat properly in the plastic bushes to ensure a
watertight seal. Do not use excessive tightening force, as this may
crack the case.
4. Ensure that all four plastic flanged bushes are in place and the rear
enclosure is screwed tightly to the surface to prevent any water
ingress through the punched holes.
5. Complete the installation by making the appropriate connections
(section 6) and re-fitting the face plate.
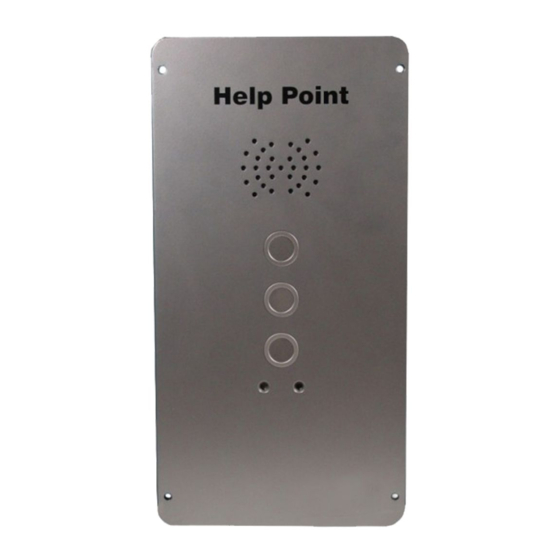
VR & Help Point
Wall mounting
7