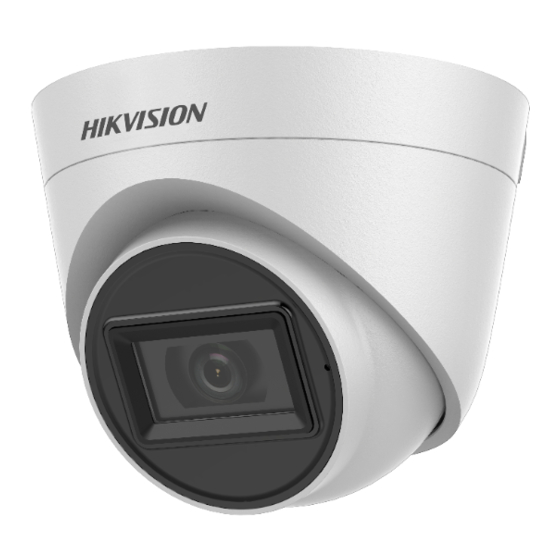
HIKVISION D0T 사용자 설명서 - 페이지 8
{카테고리_이름} HIKVISION D0T에 대한 사용자 설명서을 온라인으로 검색하거나 PDF를 다운로드하세요. HIKVISION D0T 17 페이지. Audio turret camera
HIKVISION D0T에 대해서도 마찬가지입니다: 사용자 설명서 (17 페이지), 사용자 설명서 (17 페이지), 사용자 설명서 (15 페이지), 사용자 설명서 (11 페이지), 사용자 설명서 (11 페이지)

Figure 2-7 Secure the Junction Box on the Wall
5. Route the cables through the bottom cable hole, or
the side cable hole of the junction box.
6. Combine the junction box cover with its body.
Figure 2-8 Combine the Junction Box's Cover back to its
7. Repeat the step 6 to 8 of 2.1.1 Ceiling/Wall
Mounting without Junction Box to finish the
installation.
2.2 Installation of Type II Camera
2.2.1 Ceiling/Wall Mounting without Junction Box
Before you start:
The installation of ceiling mounting and wall mounting
are similar. Following takes ceiling mounting as an
example.
1. Pry the mounting base by using a flat object, for
example, a coin.
2. Drill screw holes and the cable hole (optional) on
the wall.
3. Attach the mounting base to the ceiling and secure
it with supplied screws. For cement ceiling, you
need to install the expansion bolts at first.
Figure 2-10 Attach the Mounting Base to the Ceiling
Figure 2-9 Pry the Mounting Base
Body
