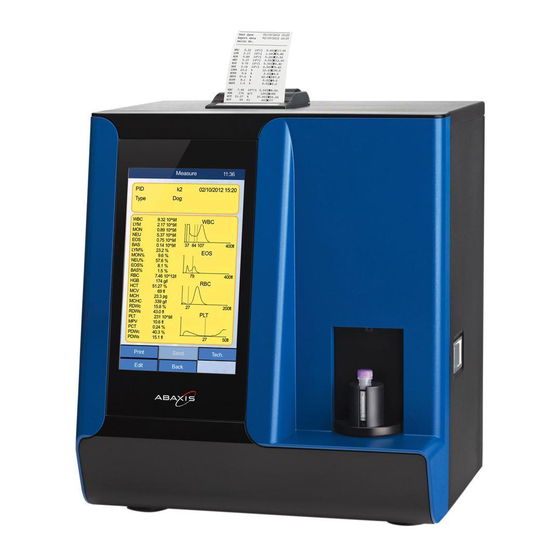
Abaxis VetScan HM5 빠른 참조 매뉴얼 - 페이지 3
{카테고리_이름} Abaxis VetScan HM5에 대한 빠른 참조 매뉴얼을 온라인으로 검색하거나 PDF를 다운로드하세요. Abaxis VetScan HM5 17 페이지. Hematology analyzer
Abaxis VetScan HM5에 대해서도 마찬가지입니다: 설치 매뉴얼 (1 페이지), 설치 지침 (2 페이지), 빠른 참조 매뉴얼 (19 페이지)

• Open the accessory box and use this list to make sure you received all
components of the Vet-Scan HM5 system.
• VetScan HM5 Analyzer.
• VetScan HM5 Operator's Manual.
• External power supply.
• Mini-keyboard
• Four sample tube adaptors.
• Reagent Tubing Kit.
Selecting a Location
The analyzer must be installed in a suitable location.
• The location should be flat, level, sturdy, vibration-free, and as dust-free as possible.
• Leave at least 50 cm of clearance on all sides of the instrument to allow for
adequate airflow and access to connectors.
• Maintain a minimum of 20 cm behind the analyzer's rear panel for heat dissipation
and tube clearance.
• Leave enough space for the reagent pack.
Connecting the Reagent Pack
• Place the reagent pack near the analyzer, either beside
or behind the instrument.
• For best results, place the reagent pack at the same level as
the analyzer. If you have to place the reagent pack on a lower
level, make sure that it is no more than 45 cm below the
level of the analyzer's reagent inlets, as measured from the
bottom of the reagent pack to the bottom of the analyzer.
Note:
Do not place the reagent pack on a higher level.
Ideal
Up to 45 cm
below is ok
< 45 cm not preferred
Closer to Care.
