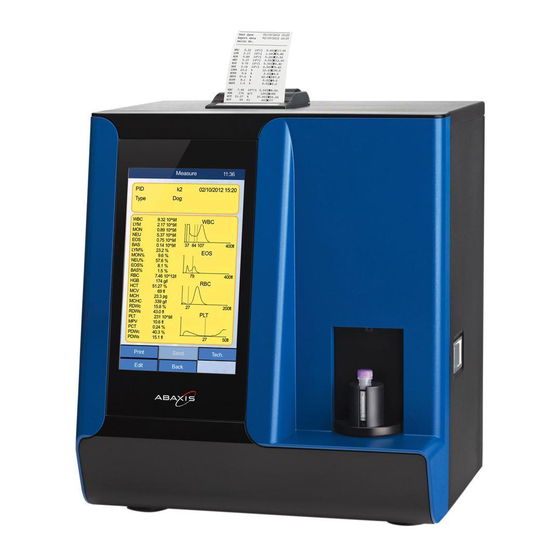
Abaxis VetScan HM5 빠른 참조 매뉴얼 - 페이지 4
{카테고리_이름} Abaxis VetScan HM5에 대한 빠른 참조 매뉴얼을 온라인으로 검색하거나 PDF를 다운로드하세요. Abaxis VetScan HM5 17 페이지. Hematology analyzer
Abaxis VetScan HM5에 대해서도 마찬가지입니다: 설치 매뉴얼 (1 페이지), 설치 지침 (2 페이지), 빠른 참조 매뉴얼 (19 페이지)

Connect the reagent pack as follows.
• Open the plastic bag located in the accessory box, and take out the six
color-coded reagent tubes and caps with drop-down tubes.
• Attach the supplied connector
tubing kit to the instrument,
as shown.
Attach the 2" tubing to the
stainless steel hose barbs
• Open the reagent pack box. Open each reagent container (lyse, lyse 2, rinse, cleaner,
and diluent) by unscrewing the container caps and piercing the bottle top seals.
• Re-cap each container using the bottle cap with the appropriate color-coded connec-
tor and drop-down tube.
• Flip diluent canister 180 degrees prevent reagent errors by ensuring that tubes are
not kinked when the box lid is closed.
• Connect each color tube to its matching color outlet. The connectors should
snap into each other when properly connected.
• Connect waste bottle.
Initialization of the HM5
• Connect Power Supply.
• Install paper into the built in printer.
• Turn on the analyzer by using the power switch on the upper left of its rear panel.
• The analyzer then displays several screens while it runs its software start-up procedure.
• Touch Measure, then touch Run.
• When prompted, touch OK to run a blank. ( Also see "Running a blank").
• The analyzer then initializes its pneumatic system and runs a blank measurement.
Attach the male
connector to the
reagent tubing
Snap the male connector into the
female connector
Attach the male
connector to the
reagent tubing
Attach the 2" tubing to the
stainless steel hose barbs
• Insert the six male connectors into
the free ends of the color-coded
reagent tubes.
Snap the male connector into the
female connector
