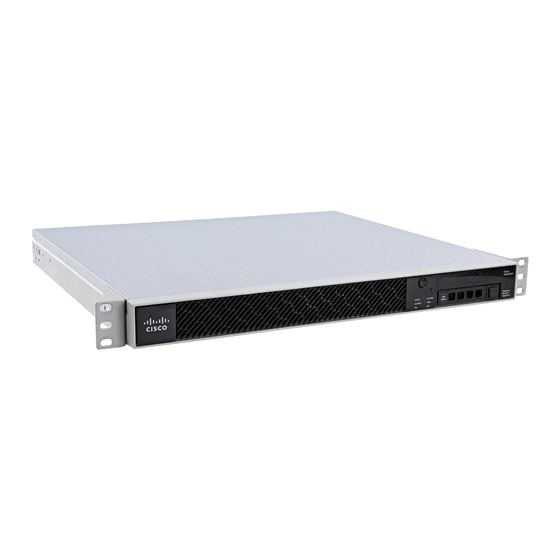
Cisco ASA 5506W-X 구성 매뉴얼 - 페이지 4
{카테고리_이름} Cisco ASA 5506W-X에 대한 구성 매뉴얼을 온라인으로 검색하거나 PDF를 다운로드하세요. Cisco ASA 5506W-X 13 페이지. Threat defense reimage guide
Cisco ASA 5506W-X에 대해서도 마찬가지입니다: 빠른 시작 매뉴얼 (10 페이지), 빠른 시작 매뉴얼 (14 페이지), 간편한 설정 매뉴얼 (11 페이지), 소프트웨어 설명서 (37 페이지), 마운트 및 연결 (12 페이지), 설치 매뉴얼 (46 페이지), 섀시 마운트 (10 페이지)

you will need to re-enable it.
asa(config)# dhcpd enable inside
asa(config)# dhcpd enable wifi
If you do not change the interface IP addresses before making the DHCP changes then you will
receive this error:
asa(config)# dhcpd address 10.0.0.2-10.0.0.100 inside
Address range subnet 10.0.0.2 or 10.0.0.100 is not the same as inside interface subnet
192.168.1.1
Step 3. Specify DNS server to pass to inside and WiFI DHCP clients
When they assign IP addresses via DHCP, most clients also need to be assigned a DNS server by
the DHCP server. These commands will configure the ASA to include the DNS server located at
10.0.0.250 to all clients. You need to substitute the 10.0.0.250 for either an internal DNS server or
a DNS server provided by your ISP.
asa(config)# dhcpd dns 10.0.0.250 interface inside
asa(config)# dhcpd dns 10.0.0.250 interface wifi
Step 4. Modify HTTP access configuration on the ASA for Adaptive Security
Device Manager (ASDM) access:
Since the IP addressing has been changed, HTTP access to the ASA also needs to be modified
so that clients on the inside and WiFI networks can access ASDM to manage the ASA.
asa(config)# no http 192.168.1.0 255.255.255.0 inside
asa(config)# no http 192.168.10.0 255.255.255.0 wifi
asa(config)# http 0.0.0.0 0.0.0.0 inside asa(config)# http 0.0.0.0 0.0.0.0 wifi
Note: This configuration allows any client on the inside or wifi interfaces to access the ASA
via ASDM. As a security best practice, you must limit the scope of addresses to trusted
clients only.
Step 5. Modify Interface IP for Access Point Management in WLAN console
(interface BVI1):
asa# session wlan console
ap>enable
Password: Cisco
ap#configure terminal
Enter configuration commands, one per line.
ap(config)#interface BVI1
ap(config-if)#ip address 10.1.0.254 255.255.255.0
Step 6. Modify default-gateway on WAP
This step is required so that the WAP knows where to send all traffic that is not originated on the
local subnet. This is required to provide to access the WAP GUI via HTTP from a client on the
ASA inside interface.
End with CNTL/Z.
