Digitrax BXP88 사용 설명서 - 페이지 12
{카테고리_이름} Digitrax BXP88에 대한 사용 설명서을 온라인으로 검색하거나 PDF를 다운로드하세요. Digitrax BXP88 16 페이지.

LED for DS2 or DS6
LED for DS1 or DS5
10.3 Panel Indicator Wiring
You can build a display panel with a track schematic and LEDs to indicate track
occupancy by connecting LEDs to the LT5 compatible output connectors on the
BXP88. For a panel display of occupancy status made up with user supplied
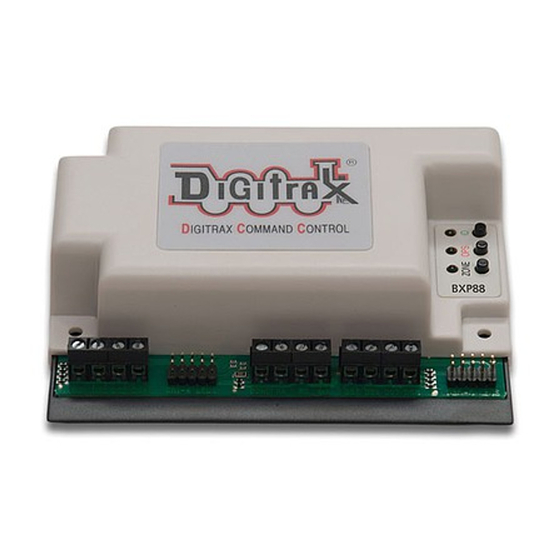
LEDs, connect to the four 0.1" 2x5 headers, and wire up high brightness LEDs
as shown in Figure 3: LED Panel Indicators Wiring. The plugs and ribbon cable
included in the Digitrax SDCK Signal Driver Cable Kit can be used.
Figure 3: LED Panel Indicators Wiring
The BXP88 incorporates current setting resistors to set the LT5 LED current typi-
cally to about 1~3mA. If you need higher LED drive currents you can use external
transistors etc. to amplify the LED current.
The LT5 header drive from the BXP88 is active high at about +3.5 volts, via a
1 Kohm resistor. Note that the ribbon cable includes separate ground return
conductors for each LED that allow a 10 conductor ribbon cable to be split into 5
pairs to conveniently routed to individual LEDS. Be sure to connect the +ve active
detection section output wires to the LED anodes. Do not connect any LT5 wiring
to other voltages as this may cause damage and void the warranty.
© 2017 Digitrax, Inc.
Figure 2: LT5 Tester
LED for DS3 or DS7
Ribbon Cable and Plug
— 12 —
LED for DS4 or DS8
Zone Power LED
Zone Power
DS1 or DS5
DS2 or DS6
DS3 or DS7
DS4 or DS8
www.digitrax.com
