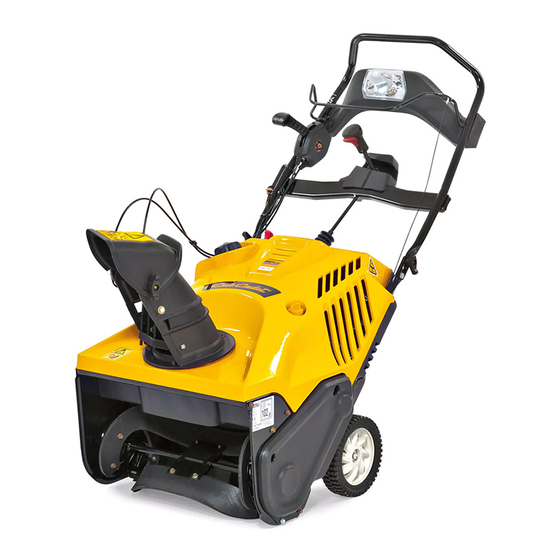
Cub Cadet 221 HP 운영자 매뉴얼 - 페이지 7
{카테고리_이름} Cub Cadet 221 HP에 대한 운영자 매뉴얼을 온라인으로 검색하거나 PDF를 다운로드하세요. Cub Cadet 221 HP 20 페이지. Single stage snow thrower
Cub Cadet 221 HP에 대해서도 마찬가지입니다: 브로셔 및 사양 (2 페이지), 사양 (2 페이지), 운영자 매뉴얼 (20 페이지)

Assembly & Set-Up
Contents of Carton
•
One Snow Thrower
•
One 3-Prong Extension Cord
•
One Engine Operator's Manual
NOTE: All references to the left or right side of the snow thrower
are from the operator's position. Any exceptions will be noted.
Unpacking the Snow Thrower
1.
Open the top of the carton.
2.
Cut down the corners on the front of the carton and fold
down the front side.
3.
Pull the snow thrower out of the carton. Be sure not to
damage the chute, or any cables attached to the chute. The
chute is shipped under the shroud on the back side of the
carton. Check for any cable ties securing the chute and
remove if necessary.
Set-Up
Adding Fuel & Oil
Refer to the Engine Operator's Manual packed with your snow
thrower for information on adding fuel and oil.
Assembly
Positioning the Upper Handle
1.
Remove the wing knob and carriage bolt from the top of
the lower handle. See Fig. 3-1. It is not necessary to remove
the shoulder screw and flange lock nut below the wing
knob and carriage bolt.
Wing Knobs
Figure 3-1
•
One Chute Assembly
•
One 20 oz. Bottle 5W-30 Oil
Carriage Bolts
Wing Knobs
•
Two Ignition Keys
•
One Snow Thrower Operator's Manual
2.
Pivot the upper handle into the operating position. Be sure
not to pinch any of the cables in the process. See Fig. 3-2.
Wing
Knobs
Figure 3-2
3.
Tighten the previously removed hardware to secure the
handle in place. See Fig. 3-2.
3
Carriage Bolts
Wing
Knobs
7
