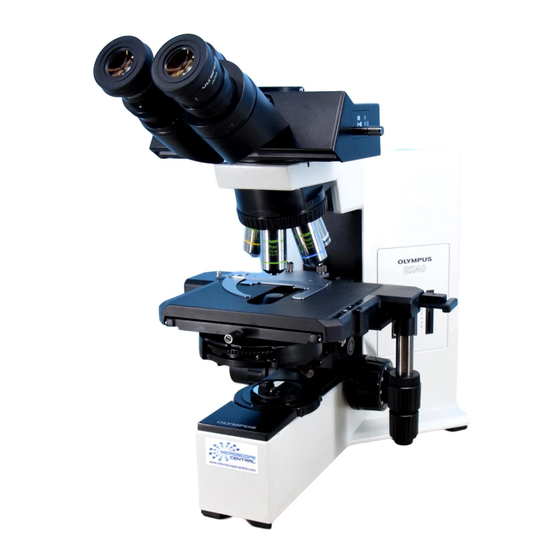
Olympus bx40 Instructions Manual - Page 9
Browse online or download pdf Instructions Manual for Microscope Olympus bx40. Olympus bx40 33 pages. Replacement illuminator
Also for Olympus bx40: Installation Instructions (4 pages)

Fig. 4
Fig. 5
Fig. 6
Fig. 7
a
Attaching
the Slide Holder
(Fig. 4)
1. Loosen the slide holder clamping screws (iJ to the extent that they
just clear the thickness of the slider holder.
* If the clamping
screws are loosened too much, their threaded
portions
may interfere with the Slots in the slide holder.
2. Insert the slide holder from the front until it Comes up against the stop.
At this Point, make sure the slide holder clamping screws fit into the
positioning Slots on the specimen holder.
* If the slide holder is not fully inserted, it may attach in a tilted Position.
3. Tighten the slide holder clamping screws.
a 1
Mounting
the Condenser
(Fig. 5)
1. Turn the coarse adjustment knob Q) to raise the Stage to its upper limit.
2. Turn the condenser height adjustment knob @ to lower the condenser
holder to its lowest Position.
3. Loosen the condenser clamping screw 0.
4. Position the condenser so that the aperture scale is located in front.
Gently slide the condenser along the dovetail.
5. Tighten the condenser clamping screw and gently raise the condenser
holder to its highest Position.
t When
mounting
the U-SC Swing-out
condenser,
align
the
positioning
pin at the back of the condenser with the groove in the
condenser sleeve.
* When using the U-SC Swing-out condenser or the U-UCDIUCDB
universal condenser,
Swing the top lens out of the way before
inserting the condenser.
a
Mounting
the Objectivec;
(Fig. 61
1. Turn the coarse adjustment knob to lower the Stage to its lowest position.
2. Mount the objectives on the revolving nosepiece in such a manner that
the magnification increases from low to higher in a clockwise direction.
a .
Mounting
the Observation
Tube
(Fig. 7)
1. Using the Allen screwdriver, loosen the Observation tube clamping screw
0.
2. Insert the circular dovetail mount at the bottom of the Observation tube
into the opening on the microscope frame, placing the Observation tube
to Point the binocular eyepieces
towards the observer.
Clamp the
Observation tube by tightening the clamping screw.
Ir If the direction
of Stage movement
and the direction
of image
movement
differs during observations,
loosen the Stage clamping
screw slightly and adjust the Stage by rotating it, while obser-ving
the image.
0
4
