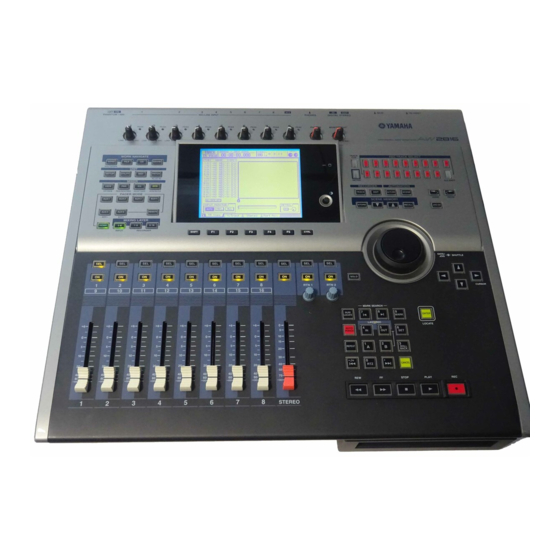
Yamaha AW2816 Manual - Page 30
Browse online or download pdf Manual for Musical Instrument Yamaha AW2816. Yamaha AW2816 32 pages. Professional audio workstation, recording101
Also for Yamaha AW2816: Operation Manual (2 pages), Update Manual (2 pages), Tutorial (31 pages)

Routing an Input Channel via Busses to a Recording Track on an AW2816
One way to route Input Channels to Recording Tracks
is via the eight (8) Busses. The ''Bus-to-Track''
relationships are listed in the following table:
EXAMPLE: If Input Channel 5 is routed to Bus 1 then
the audio from Input Channel 5 can be recorded on
Tracks 1 and 9. However, recording can only occur on
a Track that is actually record enabled or ''armed''.
Starting with Initial Data:
WARNING: All current parameter settings will be lost. If the current settings and data are not expendable,
store the data to an unused Scene before executing the the 'Initial Data' Scene recall.
1) Press the [SCENE] button located above the (DATA/JOG) dial.
2) Press the [F1] button below the screen.
3) Select "00. Initia Data" using the (DATA/JOG) dial.
4) Press the [RECALL] button located above the (DATA/JOG) dial. A confirmation window will
appear, unless 'Recall Confirmation' has been disabled in the 'UTILITIES: Prefer 1. page'.
5) Use the CURSOR' buttons to select 'OK'.
6) Press the [ENTER] button. All existing ''Input-to-Bus'' assignments will be cleared.
Routing an Input to a Bus:
1) Press the [PAN] button to view the main 'PAN/ROUTING' screen.
2) Press the [F1] button to select the 'PAN 1-16' page. On this page, Input Channels 1-16 can be
assigned to the 8 Busses.
NOTE: The numbers '1-16' in this screen represent the 16 Input Channels. Under each Input
Channel, boxes '1-8' represent the 8 busses and the 'ST' box represents the Stereo Bus.
3) Using the 'CURSOR' buttons, highlight the desired Bus under the desired Input Channel.
4) Press the [ENTER] button. The box will be ''filled'' or ''darkened'' when actually selected.
At this point, the selected Input Channel is now assigned to the selected Bus and the audio signal at
the selected Input Channel/Bus can be recorded on the corresponding Recording Track(s). (Refer to
the 'Bus-to-Track Relationships' table above.)
NOTE: The same procedures found in steps 3 and 4 can be used to deselect or unassign an Input
Channel to a Bus. The [ENTER] button will toggle the setting of the selected Bus of the selected Input
Bus-to-Track Relationships
Bus
Recording Tracks
1
2
3
4
5
6
7
8
27
1 and 9
2 and 10
3 and 11
4 and 12
5 and 13
6 and 14
7 and 15
8 and 16
