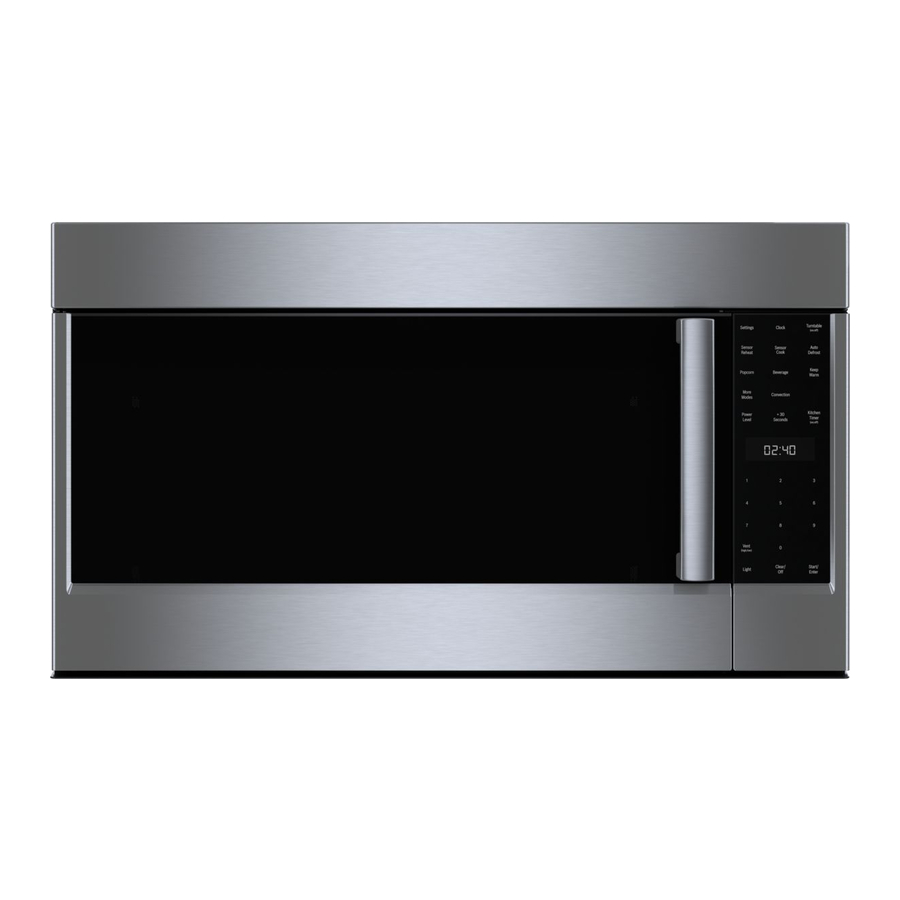
Bosch 800 Series Installatiehandleiding - Pagina 8
Blader online of download pdf Installatiehandleiding voor {categorie_naam} Bosch 800 Series. Bosch 800 Series 48 pagina's. Built-in wall ovens
Ook voor Bosch 800 Series: Handleiding voor installatie-instructies (24 pagina's), Installatiehandleiding (40 pagina's), Gebruiks- en onderhoudshandleiding (12 pagina's), Installatiehandleiding (23 pagina's), Installatiehandleiding (28 pagina's), Installatiehandleiding (32 pagina's), Gebruiksaanwijzing (32 pagina's), Installatiehandleiding (32 pagina's), Snelstart- en veiligheidshandleiding (7 pagina's), Gebruiks- en onderhoudshandleiding (40 pagina's), Installatiehandleiding (40 pagina's), Installatiehandleiding (32 pagina's), Handleiding voor installatie-instructies (40 pagina's), Gebruiks- en onderhoudshandleiding (33 pagina's), Gebruiks- en onderhoudshandleiding (49 pagina's), Snelstarthandleiding (7 pagina's), Snelstart- en veiligheidshandleiding (13 pagina's), Installatiehandleiding (32 pagina's), Servicehandleiding (36 pagina's), Handleiding voor installatie-instructies (29 pagina's), Gebruiks- en onderhoudshandleiding (24 pagina's), Gebruiks- en onderhoudshandleiding (40 pagina's), Handleiding voor installatie-instructies (28 pagina's)

