AQUAPHOR OSMO PRO 50 EU Handmatig - Pagina 10
Blader online of download pdf Handmatig voor {categorie_naam} AQUAPHOR OSMO PRO 50 EU. AQUAPHOR OSMO PRO 50 EU 16 pagina's.

Changing the replacement cartridges
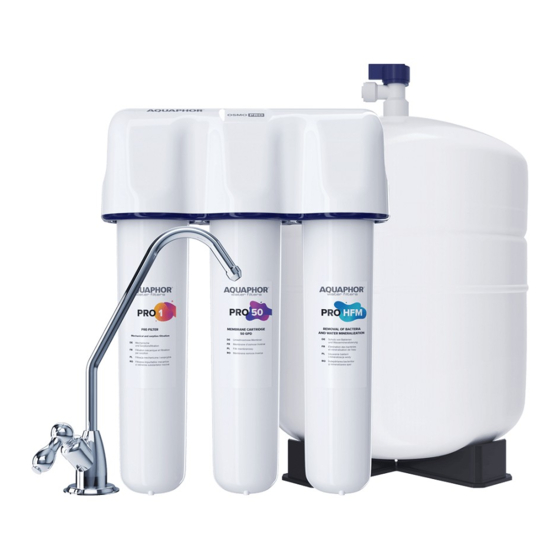
The service life of the membrane cartridge (3) de-
pends on the performance of the water treatment
unit (2), therefore it is very important to replace
the Pro 1 cartridge in a timely manner.
Replacing Pro M / Pro HFM
Cartridges
• Close the tap on the storage tank.
• Close the inlet tap on the connection unit and
open the clean water tap to relieve pressure.
• Turn the used cartridge counterclockwise and
remove it.
• Remove the packing tape from the new cartridge.
• Insert the new cartridge into the housing as far
as it will go and, using slight pressure, turn the
cartridge clockwise until it clicks.
• Install the flush plug in the middle slot (instead
of the membrane cartridge).
• Open the inlet tap on the connection unit (23)
and the clean water tap (7).
• Drain the water passing through the OSMO Pro
for 10 minutes.
• Close the inlet and clean water tap.
• Remove the flush plug and install the membrane
cartridge by turning the cartridge clockwise
until it clicks.
• Open the inlet tap and check that the OSMO
Pro connections are tight.
10
Replacing the membrane
cartridge
• Close the tap on the storage tank.
• Close the inlet tap on the connection unit and
open the clean water tap to relieve pressure.
• Turn the used membrane cartridge counter-
clockwise and remove it.
• Remove the packing tape from the new cartridge.
• Insert the new cartridge into the housing as far
as it will go and, using slight pressure, turn the
cartridge clockwise until it clicks.
• Open the inlet tap on the connection unit, the
storage tank tap and the clean water tap.
• Drain the OSMO Pro for 1 hour.
• Close the clean water tap.
• Make sure the OSMO Pro connections are tight.
