Xerox Phaser 7300DN Бумажное руководство - Страница 10

Просмотреть онлайн или скачать pdf Бумажное руководство для Программное обеспечение Xerox Phaser 7300DN. Xerox Phaser 7300DN 34 страницы. Quick reference guide
Также для Xerox Phaser 7300DN: Руководство по устранению неполадок (40 страниц), Характеристики (1 страниц), Брошюра и технические характеристики (4 страниц), Руководство пользователя (50 страниц), Характеристики Руководство (40 страниц), Руководство по поддержке (28 страниц), Руководство по настройке (18 страниц), Руководство по настройке и краткому справочнику (45 страниц)
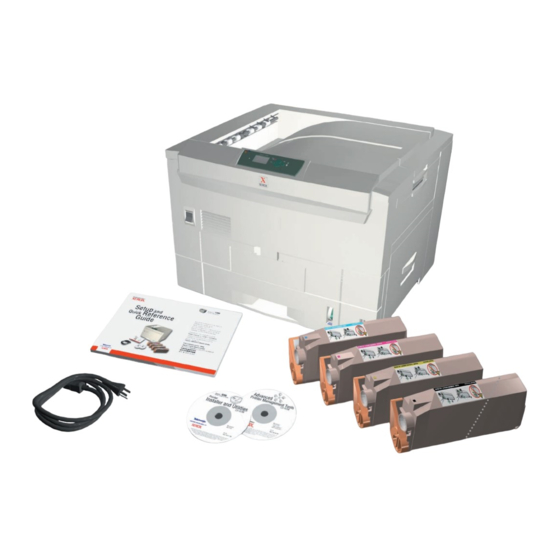
Xerox Phaser 7300DN Бумажное руководство
4.
Insert a stack of paper into the tray. Depending on the size and type of paper, load the paper
long-edge feed or short-edge feed. For information on custom size paper, refer to page 8.
Long-edge feed
Use for the following sizes: Letter, A4, and
I
B5 JIS.
Use for transparencies (in Tray 1 only).
I
Transparencies should NOT be loaded in
Trays 2 - 5.
Place the side to be printed facedown with the top
I
of the page at the back of the tray.
Prepunched holes should be on your right as you
I
face the printer.
5.
Slide the tray back into the printer and turn to the front panel.
6.
When the front panel prompts you:
If you haven't changed the type of paper, press the OK key to accept the current setting for
I
paper type.
If you have changed the type of paper, scroll to the correct paper type and press the OK key
I
to save your selection.
Note
To avoid possible print-quality and paper-feed problems, make sure that the tray's paper type
setting matches the loaded paper type.
Phaser® 7300 Color Printer
Short-edge feed
Use for the following sizes: Legal, Tabloid
I
(11 x 17 in.), Tabloid Extra (12 x 18 in.),
Executive, US Folio, A3, SRA3, A5, A6, and
B4 JIS.
Place the side to be printed facedown with the top
I
of the page on your right as you face the printer.
Prepunched holes should be towards the front of
I
the tray.
OK
Trays
6200-45
5