Green R/C Model Airplanes Tiger Moth Kullanım Kılavuzu - Sayfa 8
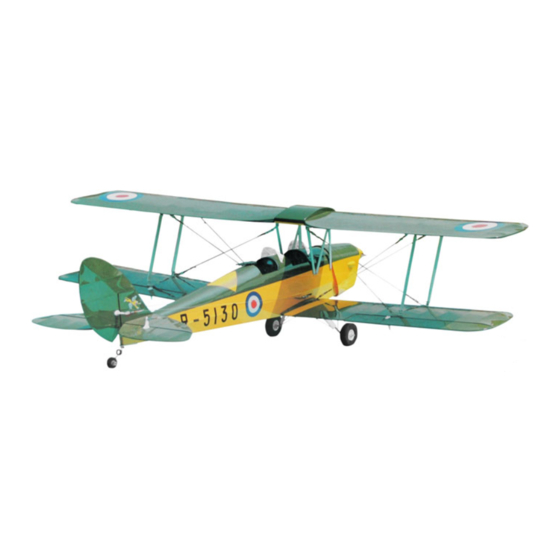
Oyuncak Green R/C Model Airplanes Tiger Moth için çevrimiçi göz atın veya pdf Kullanım Kılavuzu indirin. Green R/C Model Airplanes Tiger Moth 11 sayfaları. The unique almost-ready-to-fly scale 1:7 model of great britain's famous wwii training aircraft
Ayrıca Green R/C Model Airplanes Tiger Moth için: Kullanım Kılavuzu (11 sayfalar)
wing
wing
and the wing
wing flying
(W12)
The wing panels have pre-drilled holes for you to locate the position of the aluminum angle mount
and the flying wire connector. There is also a pre-drilled location on the top side of each of the lower
wing panels near the fuselage saddle area, , , , this will be the attachment point of the upper
wire
wire
sub-assembly
sub-assembly
wire
wire sub-assembly
sub-assembly
wing struts and to the aluminum angle mounts . Pay attention to the length of the struts : : : : The rear
wing
strut
strut (W07) is is is is longer
wing
wing strut
wing
strut
have connected the lower wing to the upper wing.
Step
Step 7. 7. 7. 7. Mounting
Step
Mounting
Mounting
the
the
Step
Mounting the
the lower
1)
Refer to Fig. (7), turn the fuselage up side down to install the completed lower wing to the
fuselage.
2)
Note that there is a slot pre-built in the fuselage. Line up the ply wood tab at the center section
of the complete lower wing with the slot and slide the tab into this slot to locate the complete
lower wing onto the fuselage saddle.
3)
Then insert the two lower wing hold-down bolts (W18) into the blind nuts built into the fuselage
and tighten the bolts securely to mount the complete lower wing in place.
flying
flying
wire
wire
connectors
connectors
flying wire
wire connectors
connectors
. Now, use four metal
(W17)
longer
than
the
front
longer than
longer
than the
than
the front
the
front wing
front
Fig.(6) Assembling
Fig.(6)
Fig.(6)
Fig.(6)
Assembling
Assembling
Assembling the
the
the
the lower
1. Wing panels (L&R)
2. Wing struts
5. Self-tapping screws
6. Metal bolts & nuts
8. Wing dihedral joiners
lower
lower
wing
wing
onto
onto
fuselage
fuselage
lower wing
wing onto
onto fuselage
fuselage
Fig.
Fig.
Fig. (7)
Fig.
(7)
(7) Mounting
(7)
Mounting
Mounting the
Mounting
the
the
the complete
1.Complete lower wing
in place on the top side of the lower wing panels.
(W16)
metal
metal
bolts
bolts
metal bolts
bolts
(W14)
wing
strut
strut (W08) . . . . Leave the metal bolts loose until you
wing strut
wing
strut
lower
lower
lower wing
wing
wing
wing and
and
and
and mounting
mounting
mounting the
mounting
3. Ailrons
7. Flying wire connector
complete
complete lower
complete
lower
lower
lower wing
wing onto
wing
wing
onto fuselage
onto
onto
2. Ply wood tab
8
self-lock
self-lock
nuts
nuts
and self-lock
self-lock nuts
nuts
(W15)
the
the
the wing
wing
wing
wing struts
struts
struts
struts
4. Aluminum angle
fuselage
fuselage
fuselage saddle
saddle
saddle
saddle
3. Hold-down bolts
upper
upper
wing
wing
flying
flying
upper wing
wing flying
flying
to connect the
rear
rear
rear