Green R/C Model Airplanes Tiger Moth Kullanım Kılavuzu - Sayfa 9
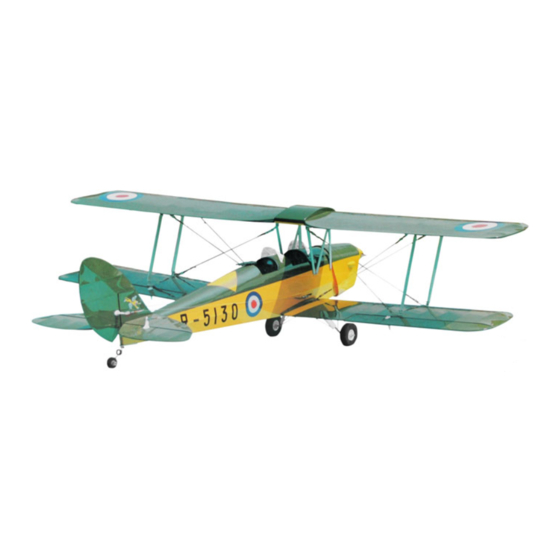
Oyuncak Green R/C Model Airplanes Tiger Moth için çevrimiçi göz atın veya pdf Kullanım Kılavuzu indirin. Green R/C Model Airplanes Tiger Moth 11 sayfaları. The unique almost-ready-to-fly scale 1:7 model of great britain's famous wwii training aircraft
Ayrıca Green R/C Model Airplanes Tiger Moth için: Kullanım Kılavuzu (11 sayfalar)
Step
Step 8. 8. 8. 8. Assembling
Step
Assembling
Assembling
Step
Assembling and
* * * * Open
Bag
Bag
Bag 3# 3# 3# 3#
Bag
Bag 4# 4# 4# 4# to get the upper
Bag
* Open Bag
Bag
1)
Insert the upper wing front
upper wing center section and into the root of the left and right wing panels. Tightly join the
three parts together to form the complete
2)
Refer to
Fig.(8
Fig.(8
Fig.(8
Fig.(8
(W13) to mount 4 pcs of aluminum
wing
wing
center
center
wing
wing center
center section
holes pre-drilled to locate the position of the aluminum angle mounts
3)
Use the same self-tapping
place on the fuselage sides. There are holes pre-drilled to locate the mounting position of the
cabanes. Pay attention to the length of the cabanes: : : : the two shorter
the two medium
medium
medium
medium cabanes
Use the metal
metal
metal bolts
metal
4)
and the wing cabanes to the fuselage sides. The complete upper wing is supported and fixed in
place on the fuselage by the wing cabanes.
Finally, join the upper wing and the lower wing with the 4 pcs. of wing
5)
already mounted on the lower wing panels as shown in
1. Center section
5. Dihedral joiner
and
and
mounting
mounting
the
the
upper
upper
and mounting
mounting the
the upper
upper wing
to get the upper
upper
upper
upper wing
wing
wing panels
wing
upper
wing
upper
upper wing
wing center
wing
front
front
dihedral
dihedral
front dihedral
dihedral joiner
) ) ) ) , put the complete upper wing upside down. Use the supplied self-tapping
aluminum
aluminum
aluminum angle
section
section
section , 2 pcs. on the left
self-tapping
self-tapping
self-tapping screws
screws
screws
screws to mount the 6 pcs of wing
cabanes
cabanes for
cabanes
for
for
for the
the
the rear
the
bolts
bolts
bolts (W14) and self-locking
Fig.
Fig.
(8)
(8)
Assembling
Assembling
Fig.
Fig. (8)
(8) Assembling
Assembling the
2. Left panel
6. Self-tapping scre
Fig.(9)
Fig.(9)
Fig.(9) The
Fig.(9)
The
The
The complete
complete upper
complete
complete
1. Wing cabanes
wing
wing
wing
panels
panels (W01)
panels
center
section
section (W02) . . . .
center section
center
section
joiner
joiner
joiner (W04) and rear
complete
complete upper
complete
upper wing.
upper
upper
wing.
wing.
wing.
angle
angle
mounts
mounts
angle mounts
mounts (W12) in place on the bottom side of the
left
left
wing
wing
panel
panel
left wing
wing panel
panel , and 2 on the right
rear
rear and the two longer
rear
longer
longer
longer ones
self-locking
self-locking
self-locking nuts
nuts
nuts (W15) to connect the aluminum angle mounts
nuts
the
the
complete
complete
the complete
complete upper
3. Aluminum angle mount
7. Metal bolt & nut
upper
upper
upper and
and
and
and lower
lower
lower
lower wings
wings on on on on the
wings
wings
2. Flying wires
9
rear
rear
dihedral
dihedral
joiner
joiner
rear dihedral
dihedral joiner
joiner (W05) through the
right
right
wing
wing
right wing
wing panel.
wing
wing
wing cabanes
cabanes
cabanes
cabanes (W09,W10 and W11) in
shorter
shorter
cabanes
cabanes
shorter cabanes
cabanes are for
ones
ones
ones for
for
for
for the
the
the diagonal.
the
diagonal.
diagonal.
diagonal.
wing
wing
struts
struts
struts which have been
wing struts
Fig.(6).
Fig.(6).
Fig.(6).
Fig.(6).
upper
upper
wing
wing
upper wing
wing
4. Wing cabane
8. Flying wire connector
the
the
the fuselage
fuselage
fuselage
fuselage
3. Wing struts
self-tapping
screws
self-tapping
self-tapping screws
screws
screws
panel.
panel.
panel. There are
for
for
the
the
front,
front,
for the
the front,
front,