Caroma Invisi Series II Посібник з монтажу - Сторінка 14
Переглянути онлайн або завантажити pdf Посібник з монтажу для Туалети Caroma Invisi Series II. Caroma Invisi Series II 20 сторінок. Urinal concealed cistern
Також для Caroma Invisi Series II: Посібник (16 сторінок)
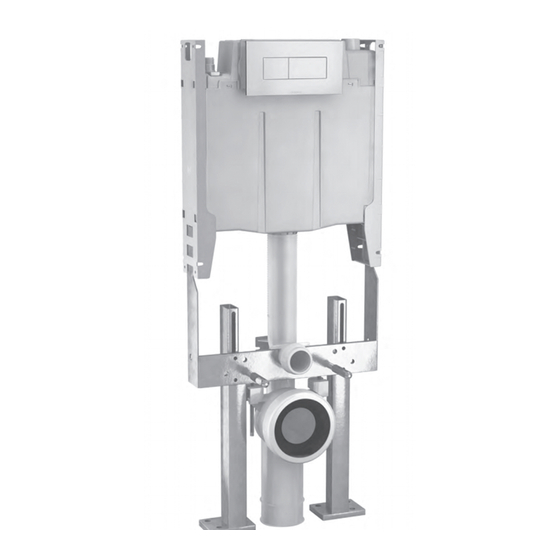
The Cistern is supplied standard with Front Access.
For conversion from Front to Top Access follow this procedure.
1
Top Cover
Slide the Top Panel back and off the lid.
(This panel will no longer be required).
There are clips at each end so the Top
Panel Should be carefully levered or
flexed to clear both clips.
1a
1b
1a.
The Remote Mounting Box can be fixed
to timber studs using suitable fixings....
1b.
....or mortared into brickwork.
14
2
Front Cover
(supplied loose)
Clips
"click"
clips
Slide the Access Box up and off the lid.
There are clips at each end so the Top
Panel Should be carefully levered or
flexed to clear both clips.
Find the Front Panel supplied loose in the
pack (This panel is slightly larger than the
Top Panel removed). Slide the Front Panel
onto the lid ensuring it locks into position.
2
2.
Make sure the Pneumatic Hose is
accessible through the Remote Mounting
Box and ensure the hose has no kinks or
is not pinched in any way prior to the final
cladding being added.
Once the final cladding has been added the
box must be trimmed flush with the wall.
3
Access Box with
Dust Cover
Slide the Access Box onto the lid ensuring
the overhang tab is to the rear of the cistern
and it locks into position.
The Panel and Access Box should lock
together neatly as shown.
Remote Mounting Box Installation
3
3.
The Remote Mounting Box is now ready
for the Button Assembly installation.
Access Panel Variations
"click"