Installation (Custom)
1. Perform steps 1. to 3. in
mended)" (page.
2. Click the [Installation (Custom)] button.
3. Select the check box for the software to install
and click the [Next] button.
4. Follow the instructions on the screen to pro-
ceed with the installation.
"Installation (Recom-
7).
2.4 Checking Scanner Driver
Operation
This section explains how to check the operation of the
installed scanner driver by using ScandAll PRO.
For details about scanning documents by using Paper-
Stream Capture and the PaperStream IP driver, refer to
the help of each software.
Make sure that the scanner driver is installed properly,
following the procedure below.
■ Checking the Operation of the
Scanner Driver
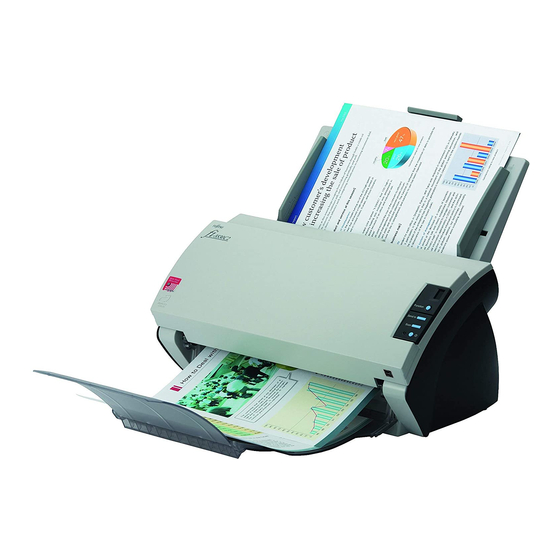
1. Load the document on the scanner.
For information about how to load the document,
refer to section 1.2 in fi-5530C2 Operator's
Guide.
2. Launch ScandAll PRO.
From the [start] menu, select [All Programs] ->
[Fujitsu ScandAll PRO] -> [ScandAll PRO].
⇒
ScandAll PRO starts up.
3. In ScandAll PRO, select [Tool] on the menu,
and then select [Preferences].
⇒
The [Setup] dialog box appears.
4. On the [Scan] tab, select a driver.
To check the operation of TWAIN, select
[TWAIN].
To check the operation of ISIS, select [ISIS].
5. Click the [OK] button to close the [Setup] dialog
box.
6. In ScandAll PRO, select [Scan] on the menu,
and then select [Select Scanner].
7. Select a scanner in the displayed dialog box.
To use TWAIN:
Select [FUJITSU fi-5530C2dj], and then click the
[Select] button.
To use ISIS:
Select [Fujitsu fi-5530C2] and then click the
[Select] button.
8. Select [Scan] on the menu, and then select
[Scan Settings].
8