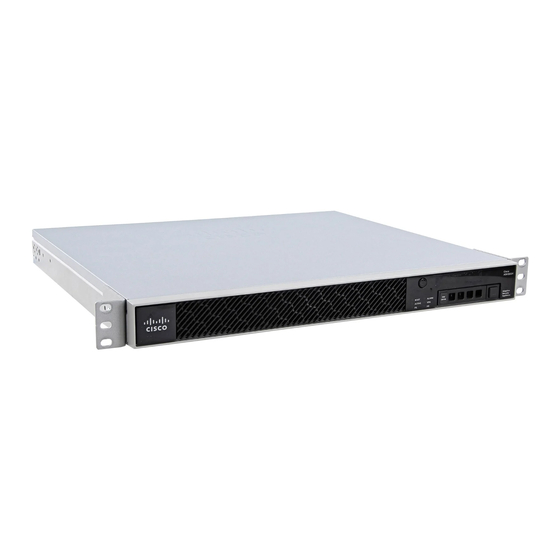
Mount and Connect the ASA
becomes active. See
console port.
c) Gigabit Ethernet ports – For the network interfaces; use standard RJ-45 Ethernet cables.
Step 2
Connect the power cord to the ASA, and plug the other end to your power source.
The ASA 5506-X does not have an on/off switch; the device powers on when you plug it into a power source.
Note
Step 3
Check the Status LED on the ASA chassis.
When it is solid green, the ASA has passed power-on diagnostics.
What to Do Next
You can now proceed to configuration of the ASA, as described in the Quick Start Guide, found at
www.cisco.com/go/asadocs.
Connect to a Console Terminal or PC
The serial ports provide administrative access to the ASA either with a console terminal or a PC. To configure
the ASA through the CLI, you must establish a connection between the ASA console port and either a terminal
or a PC.
This section describes how to connect to a console terminal or a PC, and contains the following topics:
Connect to the Console Port with Microsoft Windows
You must install a USB device driver the first time a Microsoft Windows-based PC is connected to the USB
serial port on the ASA, otherwise the connection fails.
To uninstall the driver, use the Add Remove Programs utility or the Setup-exe program.
Note
Disconnect the ASA console terminal before uninstalling the driver.
Step 1
Obtain the appropriate driver (Cisco_usbconsole_driver_X_X_zip, where X is a revision number) for your ASA model
from the Cisco
Step 2
Install the driver.
Step 3
Connect a USB 5-pin Mini USB Type B to the USB console port as shown in the following figure.
Online Only
Connect to a Console Terminal or PC, on page 19
Download Software
site, USB Console Software category.
Connect to a Console Terminal or PC
for specific instructions for connecting the
Cisco ASA 5506-X Hardware Installation Guide
http://
19

