- ページ 9
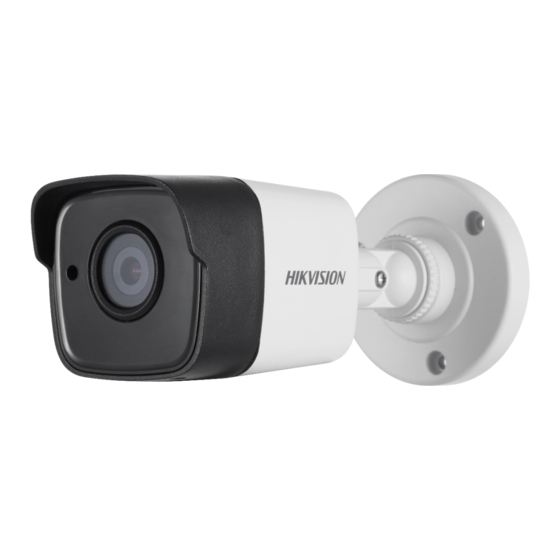
防犯カメラ HIKVISION TurboHD H0T SeriesのPDF ユーザーマニュアルをオンラインで閲覧またはダウンロードできます。HIKVISION TurboHD H0T Series 15 ページ。 Turbo hd bullet & dome camera
HIKVISION TurboHD H0T Series にも: ユーザーマニュアル (17 ページ), ユーザーマニュアル (16 ページ), ユーザーマニュアル (17 ページ), ユーザーマニュアル (13 ページ), ユーザーマニュアル (18 ページ), ユーザーマニュアル (15 ページ), ユーザーマニュアル (17 ページ)

Rotation Position
[0° to 355°]
8. Install the bubble back and tighten screws to finish
the installation.
Figure 2-11 Install the Bubble Back
2.4 Ceiling Mounting of Type IV Camera
Before you start:
The ceiling mounting and the wall mounting are similar.
Following takes ceiling mounting as an example.
Steps:
1. Align the snap joint, and then insert the screw driver
into the snap joint.
Figure 2-12 Disassemble the Camera
2. Pry the bubble by anticlockwise rotate the screw
driver and take off the black liner.
Figure 2-13 Remove the Bubble and the Black Liner
3. Paste the drill template (supplied) to the place
where you want to install the camera.
Figure 2-10 3-Axis Adjustment
Pan Position
[0° to 355°]
Tilt Adjusting Screw
Tilt Position
[0° to 75°]
Align the
Snap Joint
Anticlockwise
