HIKVISION TurboHD H0T Series Kullanıcı Kılavuzu - Sayfa 9

Güvenlik Kamerası HIKVISION TurboHD H0T Series için çevrimiçi göz atın veya pdf Kullanıcı Kılavuzu indirin. HIKVISION TurboHD H0T Series 15 sayfaları. Turbo hd bullet & dome camera
Ayrıca HIKVISION TurboHD H0T Series için: Kullanıcı Kılavuzu (17 sayfalar), Kullanıcı Kılavuzu (16 sayfalar), Kullanıcı Kılavuzu (17 sayfalar), Kullanıcı Kılavuzu (13 sayfalar), Kullanıcı Kılavuzu (18 sayfalar), Kullanıcı Kılavuzu (15 sayfalar), Kullanıcı Kılavuzu (17 sayfalar)
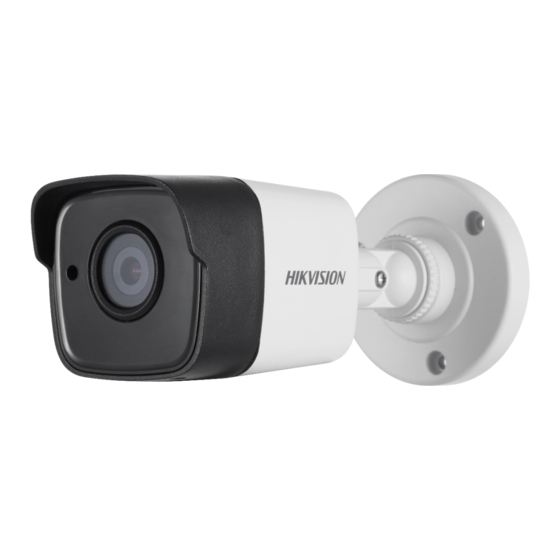
HIKVISION TurboHD H0T Series Kullanıcı Kılavuzu
Rotation Position
[0° to 355°]
8. Install the bubble back and tighten screws to finish
the installation.
Figure 2-11 Install the Bubble Back
2.4 Ceiling Mounting of Type IV Camera
Before you start:
The ceiling mounting and the wall mounting are similar.
Following takes ceiling mounting as an example.
Steps:
1. Align the snap joint, and then insert the screw driver
into the snap joint.
Figure 2-12 Disassemble the Camera
2. Pry the bubble by anticlockwise rotate the screw
driver and take off the black liner.
Figure 2-13 Remove the Bubble and the Black Liner
3. Paste the drill template (supplied) to the place
where you want to install the camera.
Figure 2-10 3-Axis Adjustment
Pan Position
[0° to 355°]
Tilt Adjusting Screw
Tilt Position
[0° to 75°]
Align the
Snap Joint
Anticlockwise