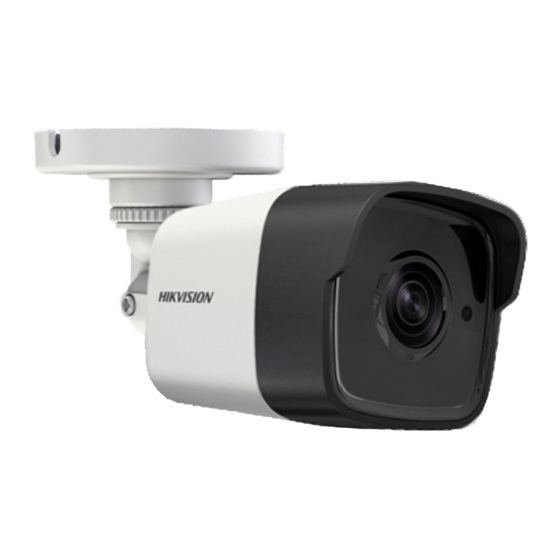
HIKVISION DS-2CE16D8T-IT3 사용자 설명서 - 페이지 7
{카테고리_이름} HIKVISION DS-2CE16D8T-IT3에 대한 사용자 설명서을 온라인으로 검색하거나 PDF를 다운로드하세요. HIKVISION DS-2CE16D8T-IT3 15 페이지. Turret cameras turbo hd d8t series
HIKVISION DS-2CE16D8T-IT3에 대해서도 마찬가지입니다: 빠른 시작 매뉴얼 (17 페이지), 사용자 설명서 (15 페이지)

Figure 2-8 Fix the Inclined Base Body
6. Combine inclined base's cover with its body with
supplied screws.
7. Repeat steps 6 to 9 of the 2.1.1 Ceiling/Wall
Mounting without Junction Box to complete the
installation.
Figure 2-9 Fix the Camera to the Inclined Base
2.2 Installation of Type II Camera
Before you start:
Both wall mounting and ceiling mounting are suitable
for the turret camera. Ceiling mounting will be taken as
an example in this section. You can take steps of ceiling
mounting as the reference, when adopting the wall
mounting.
Steps:
1. Disassemble the turret camera by rotating the
camera to align the notch to the clip plate, as shown
in the Figure 2-10.
Figure 2-10 Disassemble the Camera
2. Pry the mounting base to remove the mounting
base from the camera body.
3. Paste the drill template (supplied) to the place
where you want to install the camera.
4. Drill the screw holes according to the drill template,
and the cable hole (optional) on the ceiling.
Figure 2-11 Drill Template
