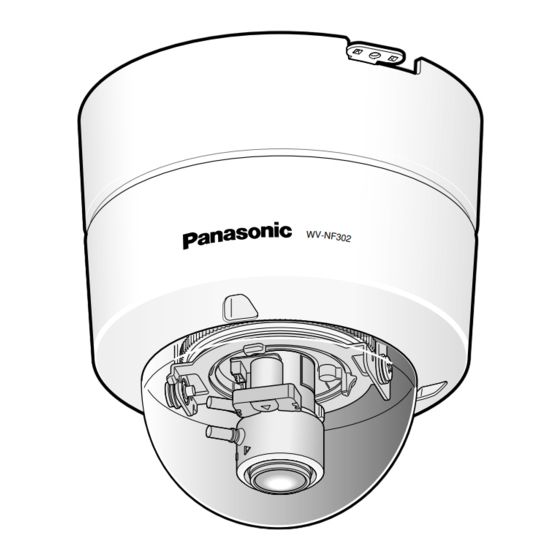
Panasonic WVNF302 - NETWORK CAMERA 설치 매뉴얼 - 페이지 22
{카테고리_이름} Panasonic WVNF302 - NETWORK CAMERA에 대한 설치 매뉴얼을 온라인으로 검색하거나 PDF를 다운로드하세요. Panasonic WVNF302 - NETWORK CAMERA 36 페이지. Ip video cameras
Panasonic WVNF302 - NETWORK CAMERA에 대해서도 마찬가지입니다: 브로셔 (2 페이지), 사용 설명서 (20 페이지), 참조 (2 페이지), 비교 차트 (6 페이지), 통합 참고 사항 (8 페이지), 사용 설명서 (20 페이지)

Connections
Step 1
Connect the monitor cable between the mon-
itor out connector inside the dome cover and
the video in connector of the video monitor
(only when adjusting angular field of view).
Monitor out connector (for adjustment)
Important:
The monitor out connector is provided
only for checking the adjustment of the
angular field of view on the video monitor
when installing the camera or when serv-
icing.
It is not provided for recording/ monitor-
ing use.
Step 2
Connect a power cord from a power supply.
12 V DC power terminal
22
• When using 12 V DC power supply
q Remove 3 mm – 7 mm {1/8" – 5/32"} of
the outer jacket of the power cord from a
12 V DC power supply and twist the core
of the power cord to prevent a short cir-
cuit.
Approx. 3 mm - 7 mm {1/8" - 5/32"}
Specification of cable (wire):
AWG #16 - #28 Single core, twisted
w Loosen the screws of the provided power
cord plug and insert the power cords into
the power cord plug until the exposed
core wires are completely hidden.
e Tighten the screws to fix the inserted
power cords.
* Make sure that the exposed core wires
are completely hidden after tightening
the screws.
@
Power cord plug
(provided as a
standard accessory)
r Insert the power cord plug to the power
cord terminals on the mounting side of
the camera.
* Make sure that the power cord plug is
inserted to the power cord terminal firm-
ly.
!
