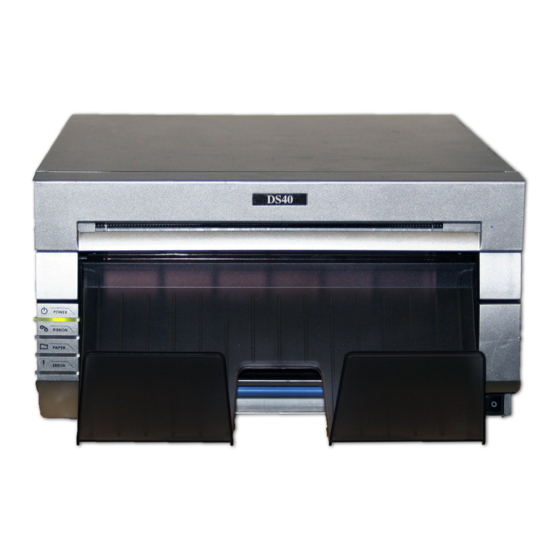
DNP DS40 유지 관리 매뉴얼 - 페이지 2
{카테고리_이름} DNP DS40에 대한 유지 관리 매뉴얼을 온라인으로 검색하거나 PDF를 다운로드하세요. DNP DS40 6 페이지. Photo imaging
DNP DS40에 대해서도 마찬가지입니다: 빠른 참조 (6 페이지), 빠른 시작 매뉴얼 (8 페이지), 재포장 매뉴얼 (2 페이지)

Procedure – Changing Media
Paper
1.
To access the paper roll, open printer by lifting the
blue handle under scrap box and pulling gently
forward (Figure 2).
2.
Push blue paper release lever, located on the left-
hand side of the printer (Figure 3). The top panel of
the printer face will pop up allowing you to access
the paper area.
3.
Remove scrap box by pulling it straight up from the
printer base & set aside. Discard any offcuts at this
time.
4.
Remove the paper cassette, including spool ends &
any remaining paper by lifting it directly up from the
printer base.
NOT DISCARD THE SPOOL ENDS.
5.
Install the new roll of paper onto the spool ends
ensuring that there is no gap between the holder &
the edge of the paper roll.
6.
Place the paper into the printer with the paper
feeding over the top and under into the printer
(Figure 4).
7.
Gently feed the paper into the printer as shown in
the photo below. When this has been done correctly
you will hear a 'beep'.
8.
Reattach the scrap box by positioning it straight down from the top into the front of
the printer. Close the front cover.
Discard any remaining paper.
Figure 2 – O pening the front of the printer
DO
Figure 3 – Loc ation of paper release lever
Figure 4 – Direction for feeding paper into
printer
