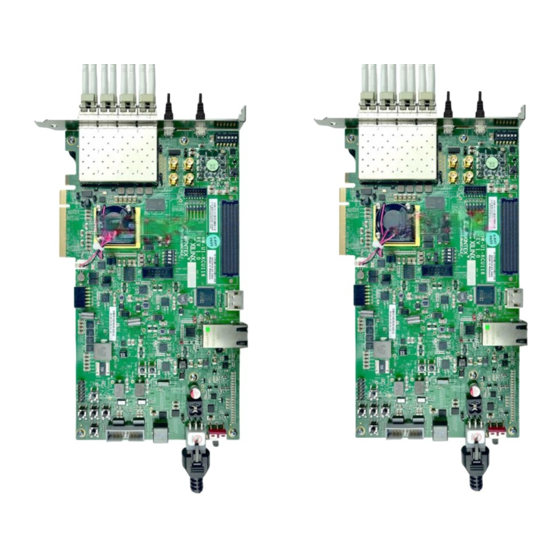
DG FPGA Setup
Browse online or download pdf Setup for Computer Hardware DG FPGA. DG FPGA 5 pages.
Also for DG FPGA: Setup (14 pages), Setup (20 pages), Setup (8 pages), Setup (10 pages), Setup (18 pages)

dg_ll10gemacip_fpgasetup_xilinx.doc
FPGA Setup for LL10GEMAC-IP Loopback Test
This document describes how to setup FPGA board and prepare the test environment for running
LL10GEMAC-IP loopback demo and measuring the latency time. User sets test parameters on
FPGA board and monitors the hardware status via Serial console. More details of the demo are
described as follows.
1 Test environment List
To run loopback demo of LL10GEMAC IP, please prepare following test environment.
• FPGA development board: ZCU102
• (Optional) SFP+ Loopback cable for external loopback mode
• Two micro USB cables for programming FPGA and Serial console monitoring, connecting
between FPGA board and PC
• Serial console software such as TeraTerm installed on PC. The setting on the console is
Baudrate=115,200, Data=8-bit, Non-parity, and Stop=1.
• Vivado tool for programming FPGA, installed on PC
Note: The latency time in the test depends on clock phase shift characteristic when the board
boots up. Reset button is designed to reset the system which will change clock phase shift
characteristic. Therefore, the user can press Reset button and may get the different latency time
on the test.
29-Apr-21
Figure 1-1 LL10GEMAC demo on ZC102
Rev1.0 29-Apr-21
Page 1
