DG FPGA Setup - Page 2
Browse online or download pdf Setup for Computer Hardware DG FPGA. DG FPGA 5 pages.
Also for DG FPGA: Setup (14 pages), Setup (20 pages), Setup (8 pages), Setup (10 pages), Setup (18 pages)

dg_ll10gemacip_fpgasetup_xilinx.doc
2 Test environment Setup
The step to setup test environment by using FPGA and PC is described in more details as
follows.
1) Check DIPSW and jumper setting on FPGA board as shown in Figure 2-1.
i) Insert jumper to J16 to enable Tx SFP+.
ii) Set SW6=all ONs to use USB-JTAG.
2) Connect two micro USB cables from FPGA board to PC for JTAG programming and USB
UART.
3) Connect power supply to FPGA development board.
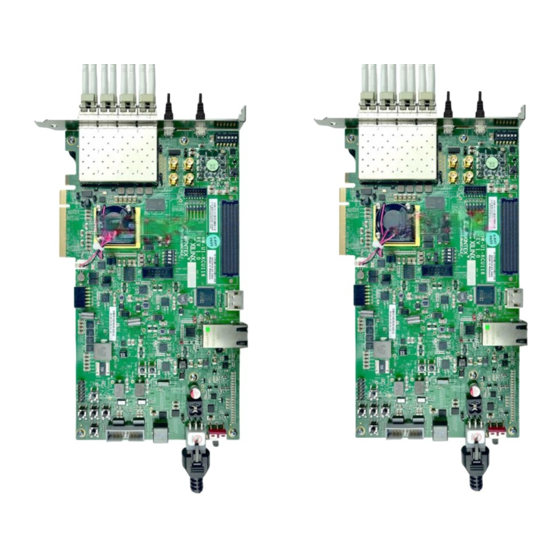
4) (Optional for running external loopback mode) Connect SFP+ Loopback cable at the
top-right SFP+ channel, as shown in Figure 2-2.
29-Apr-21
Figure 2-1 ZCU102 board setting
Figure 2-2 Loopback cable on ZCU102 board
Page 2
