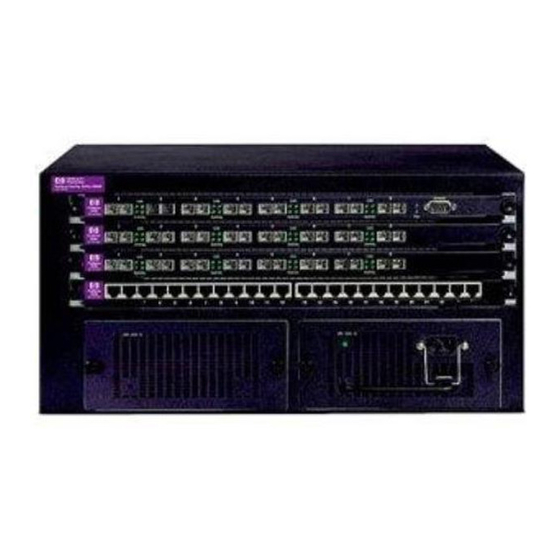
HP ProCurve 1600M Instrukcja instalacji - Strona 8
Przeglądaj online lub pobierz pdf Instrukcja instalacji dla Przełącznik HP ProCurve 1600M. HP ProCurve 1600M 12 stron. Redundant power supply
Również dla HP ProCurve 1600M: Arkusz specyfikacji (12 strony), Przeczytaj mnie najpierw (8 strony), Podręcznik recenzenta (27 strony), Podręcznik uzupełniający (2 strony), Podręcznik uzupełniający (2 strony), Instrukcja instalacji (28 strony), Instrukcja instalacji (36 strony), Instrukcja instalacji (28 strony), Podręcznik szybkiej konfiguracji (2 strony), Podręcznik szybkiej konfiguracji (4 strony), Podręcznik użytkownika (8 strony), Suplement do podręcznika (28 strony), Przeczytaj mnie najpierw (16 strony), Instalacja i demontaż (2 strony), Podręcznik planowania i wdrażania (40 strony), Instrukcje demontażu produktu po zakończeniu eksploatacji (2 strony), Instrukcja instalacji (46 strony), Podręcznik diagnostyki (2 strony), Instrukcje demontażu (2 strony)

