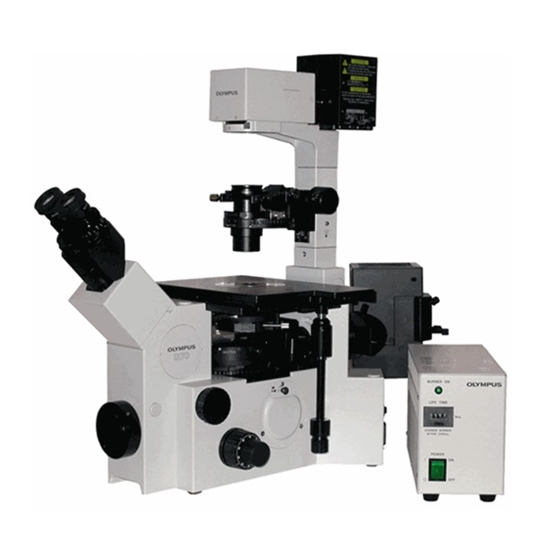
Olympus IX70 Panduan Pengoperasian - Halaman 5
Jelajahi secara online atau unduh pdf Panduan Pengoperasian untuk Mikroskop Olympus IX70. Olympus IX70 32 halaman. Inverted fluorescent microscope
Juga untuk Olympus IX70: Petunjuk Pengoperasian (5 halaman)

decoded by the sheet taped to the side of the scope. If you need filters not currently installed, please ask
for assistance in swapping out the cubes (we have more choices than available turret positions). A manual
shutter slide is also located on the side (Fig. 2 "manual shutter"). Push toward the wall to block
fluorescence (but be aware this will prevent you from snapping a picture too!). There is a 1.5x tube lens
that will enlarge the image destined for your eyes (see "mag changer" Fig 2). However, the image quality
is poor and a bright reflection renders images in the camera port in need of post hoc corrections. Use the
1-X (pushed in) position for all quality work. A brightfield lamp is available (above the scope) and is
controlled via the square button on the front left-hand side of the scope base plus the voltage up/down
slider (see Fig 1).
DIC:
The microscope is equipped with Differential Inference Contrast (DIC) optics to generate contrast
in unstained materials. To setup DIC or use is in ocular mode, one needs to use the analyzer slider (must
be inserted under the filter turret) and the optical path should be optimized (Kohler illumination, described
below). The DIC analyzer (polarizer) for image capture is mounted in the emission changer. The visual
DIC analyzer is NOT normally present (i.e., by request) since users tend to leave it in the optical path and
cut fluorescence intensities by mistake (must be pulled out for all work apart from visual work). DIC uses
a pair of prisms, one above the slide, one below. The upper one is found in the wheel on the condenser
Brightfield lamp housing
Field
aperture
Centering
screws
Condenser
aperture
Fig. 3 The condenser
image contrast (at the price of brightness; you will also see more dirt on your slide the more you close it
down).
Note that plastic degrades the DIC effect, and while you may get enough contrast for an image, the
quality is far worse than for cells on a glass coverslip. It is also best to remove the lids from plastic
dishes, especially if there is condensation. A plastic lid with built-in glass window is available. Silicon oil
PDF Created with deskPDF PDF Writer - Trial :: http://www.docudesk.com
(Fig. 3), and should be changed manually to best match the
objective in use. Due to space+cost limitations we have only 3
(upper) prisms: 10x (use for 10x), 40x oil (use for 20x, 40x and
100x), and 60x TIRF/oil (use with 60x lenses). The prisms
match the objectives they are named for, so DIC quality will be
best with 10, 40, 60x lenses, and acceptable with others. The
lower shift prism is constant for all objectives. It has a knurled
screw that allows you change the contrast and apparent
direction of light hitting your sample (also called the shear).
Adjust the screw to get a uniform background and details (see
Fig. 1 "DIC shear adjustment screw"). Before you display the
Focus knob
DIC image, you should optimize the optical path to get the
most even illumination possible. To achieve Kohler
illumination, first find your sample on the slide and make sure
Prism
it is in focus. Then focus the condenser onto that plane by
selection
closing the field aperture (Fig. 3) and using the condenser
focus knob to get the sharpest image of the closed iris leaves
(should be a bright hexagon of light). Use the centering screws
(Fig. 3) to center the iris image, then open the field aperture
iris until it just vanishes from view. The iris on the condenser
itself (Fig. 3 "condenser aperture) can be closed to enhance the
5
