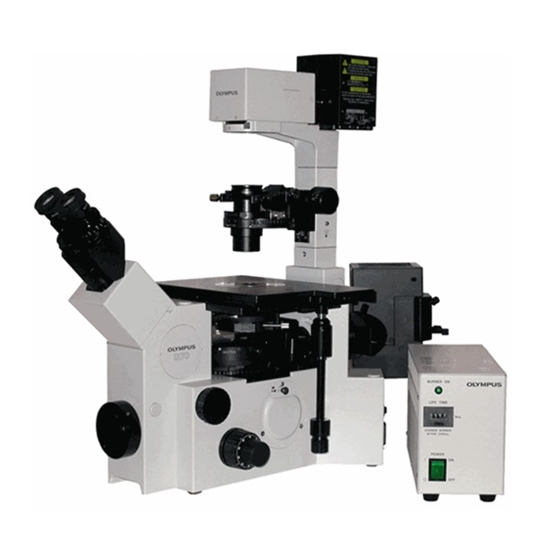
Olympus IX70 Panduan Pengoperasian - Halaman 11
Jelajahi secara online atau unduh pdf Panduan Pengoperasian untuk Mikroskop Olympus IX70. Olympus IX70 32 halaman. Inverted fluorescent microscope
Juga untuk Olympus IX70: Petunjuk Pengoperasian (5 halaman)
will allow even red probes to be used provided they can be excited at 488nm (perhaps fura-red or RFP).
You can narrow the emission by using the 535 barrier filter in the camera filter changer (FITC (535BP)
TIRF filter definition in taskbar menu). Be aware that CFP will not be excited very well at 488nm (in fact,
it's peak emission is near this wavelength). See below for protocol.
marching the beam downwards (toward the periphery of the objective back aperture), and when the external beam disappears,
you have reached the critical angle for TIRF. It's convenient to set the depth of the TIRF illumination while observing the live
You may wish to use a camera sub-region, bin pixels, or both, to get fast image capture
image on the monitor.
rates. The frame capture rate can be read off the Acquire window
under the Live Bin box. Fast acquisitions may require using the
"stream acquisition" feature (Acquire
where data is grabbed as fast as possible without any active
display to slow things down.
By pulling up the illumination path slider (behind the
scope) up, you can switch to the conventional mercury arc
illumination to capture a standard image. Be sure to use the
software TIRF illumination setting since this places the excitation
filter into the path (as well) and prevents you from blasting your
sample. Push the slider back down to return to TIRF mode.
HOW-TO TIRF: Use the Plexiglas reflection shield (fix on scope just behind the eyepiece
mount) Watch out for beam reflections! This is more likely if you use a metal chamber. Protect other
users from stray beams as well. Never stare at a laser beam. The beam is low intensity, but eyesight is
never worth even a small risk.
The procedure is to first find your candidate cell using regular fluorescence (plunger slide UP
behind the scope), then switch to camera, live view, TIRF illumination (plunger slider DOWN behind the
scope), adjust the field depth of illumination (micrometer on TIRF arm), and start image acquisition. Note
the illumination is constant (unless you switch back to mercury arc via the slider) or use the manual
shutter on the filter cube turret. There is no automatic shutter for laser light (yet). TIRF is generally far
less toxic and bleaches less than regular illumination. You can insert a ND filter with the slider on the
TIRF tube (see left image on pg. 10) to decrease TIRF laser intensity, if needed. Power can also be
modified to some extent by the trim pot on the front of the laser power supply if you use the non-standby
mode. Generally there is more than enough light in standby mode for GFP work in shallow illumination.
DsRed (and other RFPs) can be excited by 488 and you can use the colored filter to restrict capture to
only the red component if desired. You can sequentially collect the green-only and red fluorescence by
setting a protocol to switch the emission filter wheel using Multi-dimension Acquisition sub-application
(see below). The filter can change in about 55 msec. Alternatively, you can use the image splitter tube and
the split image capture mode in MetaMorph to simultaneously grab green and red signals, although the
region you can capture will be smaller.
Check the setup with ShowLive. How fast is it going? Check the Acquire/Acquire menu bottom
left side (in show live mode) for the frames per second (fps). To capture data use the
Acquire/StreamAcquisition menu item (this stays open) and stream to memory or disk. It will warn you if
the requested data won't fit into memory (but only when you actually try to collect it). Note that the
stream mode does NOT give a live image. You won't see what's happening while streaming (it's
designed to go as fast as possible) until you play back the stream. Don't collect full images (approx 1.4
MB each) when your target is only a tiny fraction of the image. Draw a box around the bit you are
interested in, and then use the Acquire/Acquire/Use Active Region button to keep only the important bits.
This saves memory and allows for faster capture (less to read back). The Center Quadrant button may be
PDF Created with deskPDF PDF Writer - Trial :: http://www.docudesk.com
Stream Acquisition)
By turning the micrometer CCW you are
11