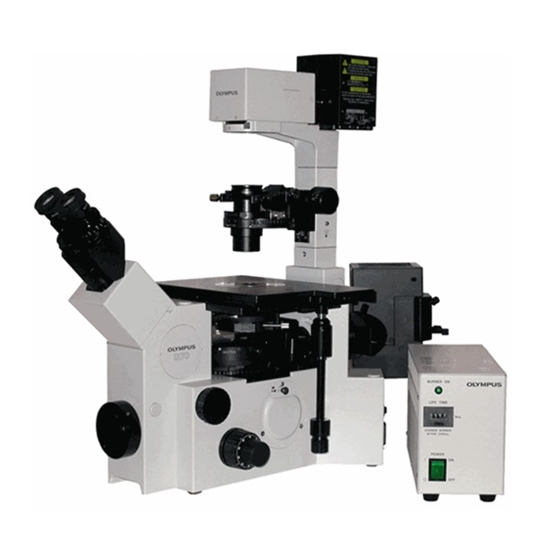
Olympus IX70 Panduan Pengoperasian - Halaman 10
Jelajahi secara online atau unduh pdf Panduan Pengoperasian untuk Mikroskop Olympus IX70. Olympus IX70 32 halaman. Inverted fluorescent microscope
Juga untuk Olympus IX70: Petunjuk Pengoperasian (5 halaman)
and also allows you to directly enter the same display ranges for images meant to be shown
identically. There is a taskbar menu item (top Right-side Column) that forces displays to full range
("scale12bits"). The "autoscale" taskbar button reverts/sets autoscaling. 3) Did you use the taskbar
"Show Live" button? This activates the camera+screen display; the Acquire/Acquire menu 'show live'
ONLY starts the camera. You still need to direct light to the camera vs eye path. 4) Try an
autoexposure. If you are collecting too few intensity values, the image will look grainy. If screen is
solid color, you are probably too bright. Use the autoexposure button. If you didn't send light to the
camera, it will stop trying after testing a 10-sec exposure maximum (hit ESC key to abort an
autoexposure). 5) Press the "Full Chip" button to make sure you are getting the full image vs some
tiny portion no longer applicable.
Total Internal Refection Fluorescence (TIRF)
SAFETY FIRST! Know all operating procedures before attempting TIRF!
Total Internal Reflection Fluorescence Microscopy
create a narrow band of excitation limiting the view of fluorescent materials to the space immediately
above the glass coverslip. The depth of illumination can be 90-200nm thick, a region that limits your view
to just the cellular contact to the glass. It allows you to view the cellular footprint and can be used to
obtain high-speed images of changes in surface membrane, especially exo/endocytosis. It requires a laser
spot be aimed at a critical location in the objective so as to bounce the light off the glass/water interface.
This optical slice is more narrow than a confocal, but is limited to the space just above the cover glass.
You must use the special 60x, 100x or 150x oil objectives to obtain the critical beam angle (via the high
NA). You can use regular glass coverslips and regular oil with these lenses.
Since this technique uses laser illumination, you MUST have special
Laser safety is important; why risk damaging your retinas??
The laser source is a 10mW argon laser producing a 488nm beam. The laser is activated by rotating the
key beyond "on" to "start" and releasing the key. It begins to produce light10 to 60 sec after activation.
Select the laser illumination path by pushing the slider (behind the scope, see pg. 11) down. The beam can
be moved to the critical angle by rotating the micrometer screw counterclockwise (above, right).
Clockwise rotation moves the beam to the center of the objective, the non-TIRF position. Be sure to use
the TIRF filter cube (called "green FITC wide/TIRF") in the software. This is a long-pass FITC set that
PDF Created with deskPDF PDF Writer - Trial :: http://www.docudesk.com
TRAINING IS MANDATORY!
(AKA evanescent wave) uses laser light to
training.
10