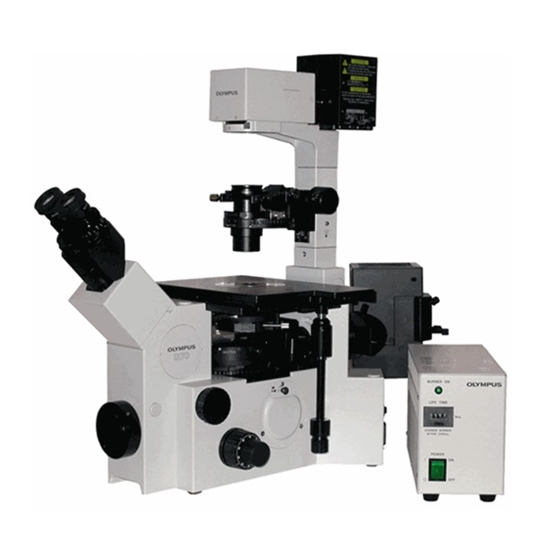
Olympus IX70 Panduan Pengoperasian - Halaman 8
Jelajahi secara online atau unduh pdf Panduan Pengoperasian untuk Mikroskop Olympus IX70. Olympus IX70 32 halaman. Inverted fluorescent microscope
Juga untuk Olympus IX70: Petunjuk Pengoperasian (5 halaman)
fluorophores, you can make the task easier by using the Acquire Multiple Wavelengths menu. This
automates collection of up to 6 "channels" of data, each stored with a fixed/different exposure (or
autoexposure). To use the Acquire multiple wavelengths menu, pick the number of probes to collect and
assign the identity and order in the lower section. Pressing the upper right camera icon collects the entire
sequence and stores it in one memory stack. For this to work, the microscope has to be set up with the
quad mirror in place in the lower filter turret. If you want to use the individual color cubes and change
cubes between captures, pressing the cameras next to each probe collects only that probe. To collect color
(histology) images, make sure the order is colorRed. colorGRN, colorBLU. Gain is assigned from the
main "acquire" window and is applied to all channels. Independent exposure times can be assigned by the
user or calculated for every capture by checking the "autoexpose" box. Autoexposure takes time since a
series of exposures are tried and evaluated. You may want to disable the auto feature after the first pass
and used fixed times thereafter. You certainly do NOT want to autoexpose everything if you doing a study
buttons. The lefthand side is all buttons for the single color cubes (use for either oculars or camera).
Pushing one of these buttons will pop up a window to tell you which cube to position in the bottom filter
turret and then "Continuous" on the pop up window will open the shutter. You will be able to scan for
your sample with one of these cubes, but be sure the light path is set to EYE (check that the knob on the
right-hand side of the scope is set to the eye image). If it set to camera (SP, or the icon for the non-existent
manual camera) rotate the wheel until it clicks and you see the eye. Focus upwards (CCW, 'fingertips up
= up') to find your samples, but keep in mind there is NO limit in place to prevent you from crashing into
things and breaking your prep, or worse, an objective. If you are having trouble here, ask for help.
Unstained cells may be easier to find with DIC, but I prefer to use fluorescence mode for stained
materials. If you have a DAPI stain, this works particularly well.
3) Find the cell(s) you wish to image and place them just to the right of center. The camera sees roughly
the center/right 50% of what you see. You should then verify that the camera sees the same focus that you
did by pressing the "Show Live" taskbar button (middle left column)—this reminds you to change the
light path by rotating the knob to the "SP" side port setting and then starts the camera+screen display.
You can use the Acquire menu "autoexpose" button to set the brightness (this can take some time with
dim samples), or enter numbers directly. With no binning and gain=1, 100-200 msec should give a decent
image (on average). (exposure testing is set to max out at 10 sec). If there is no image on the screen,
double check that you remembered to send light to the camera.
allow you to change "illuminations" and objectives. Be aware that these menus do LESS than the similar buttons in the taskbar.
Changing a filter, for example, only tells you to change the filter, while the task button would also then open the shutter...
PDF Created with deskPDF PDF Writer - Trial :: http://www.docudesk.com
where staining intensity is important
(e.g., treatment vs control). If you want
to time-lapse this sequence and/or do a z-
axis collection, then use the APPS menu
routine Multi Dimensional Acquisition.
Again, for multiple wavelengths, the
quad mirror cube must be used in the
filter turret.
2) Pick one of the illumination settings
from the taskbar (2-column menu).
There are two columns: the righthand
side is all buttons that work with the
"quad" mirror (camera only). Change
the manual filter turret to position 4 and
flip through the channels with these
Note: There are pulldowns at the top that also
8